Vegan peppermint meringue kisses made with peppermint and aquafaba (liquid from a tin of chickpeas!) Fun and festive Christmas treats.
It’s been nearly two years since I discovered the magic that is Aquafaba, and I’m still amazed by it.
Who could have ever thought the liquid we usually wash down the drain, from a can of chickpeas or other legumes, could turn out to be the most amazing egg white substitute?
Since then, I’ve used it to make meringue nests, iced gems, royal icing, American frosting and lemon meringue cupcakes!
But this recipe is for meringue kisses.
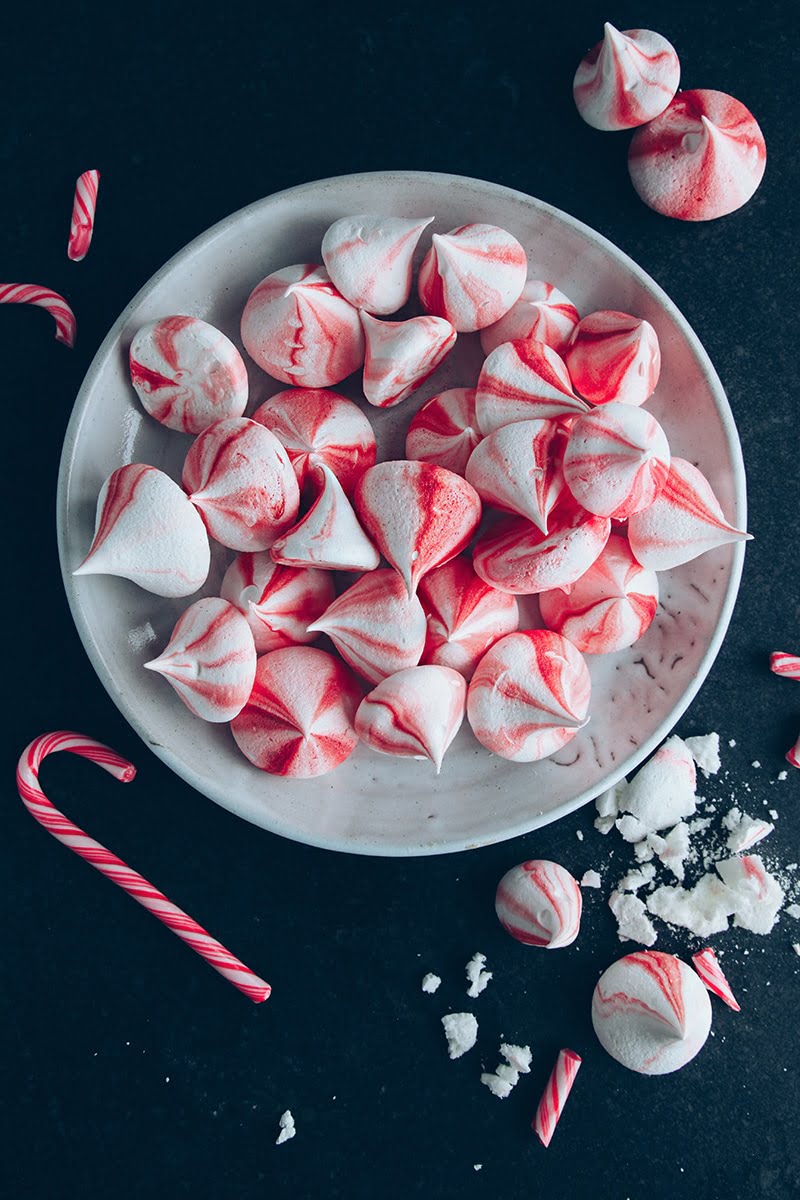
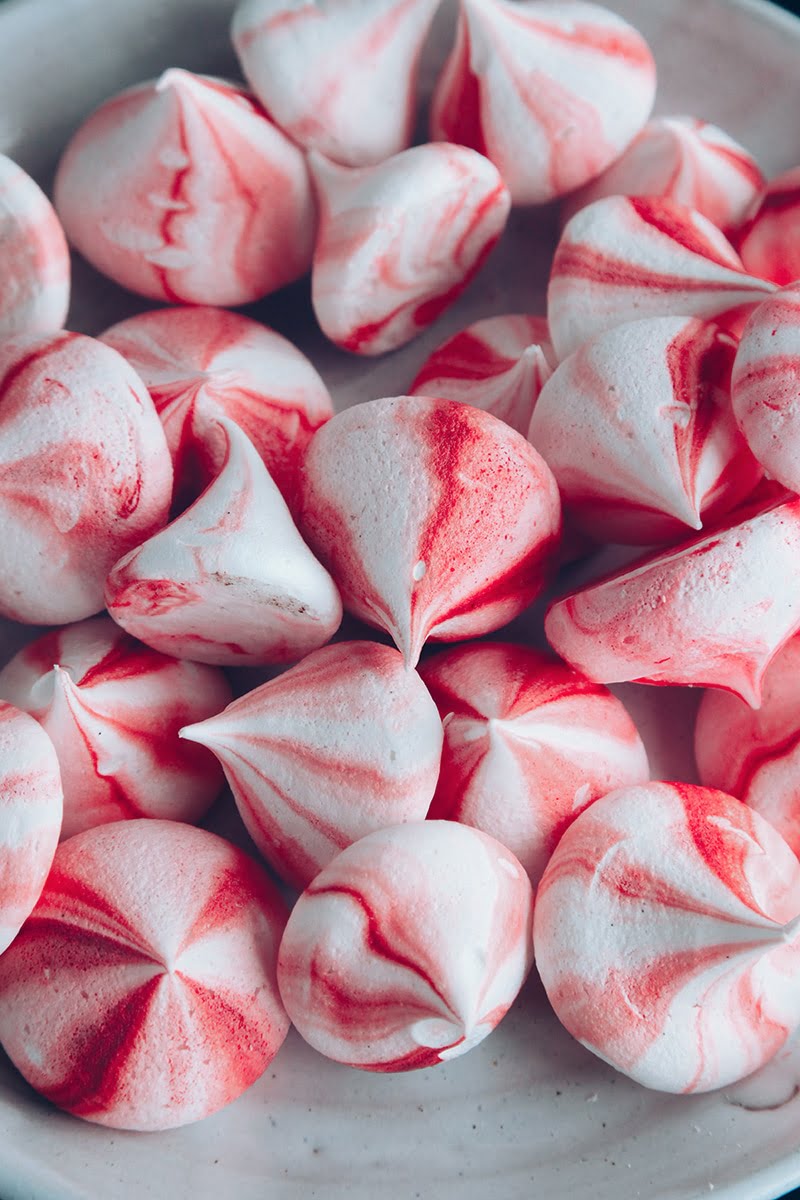
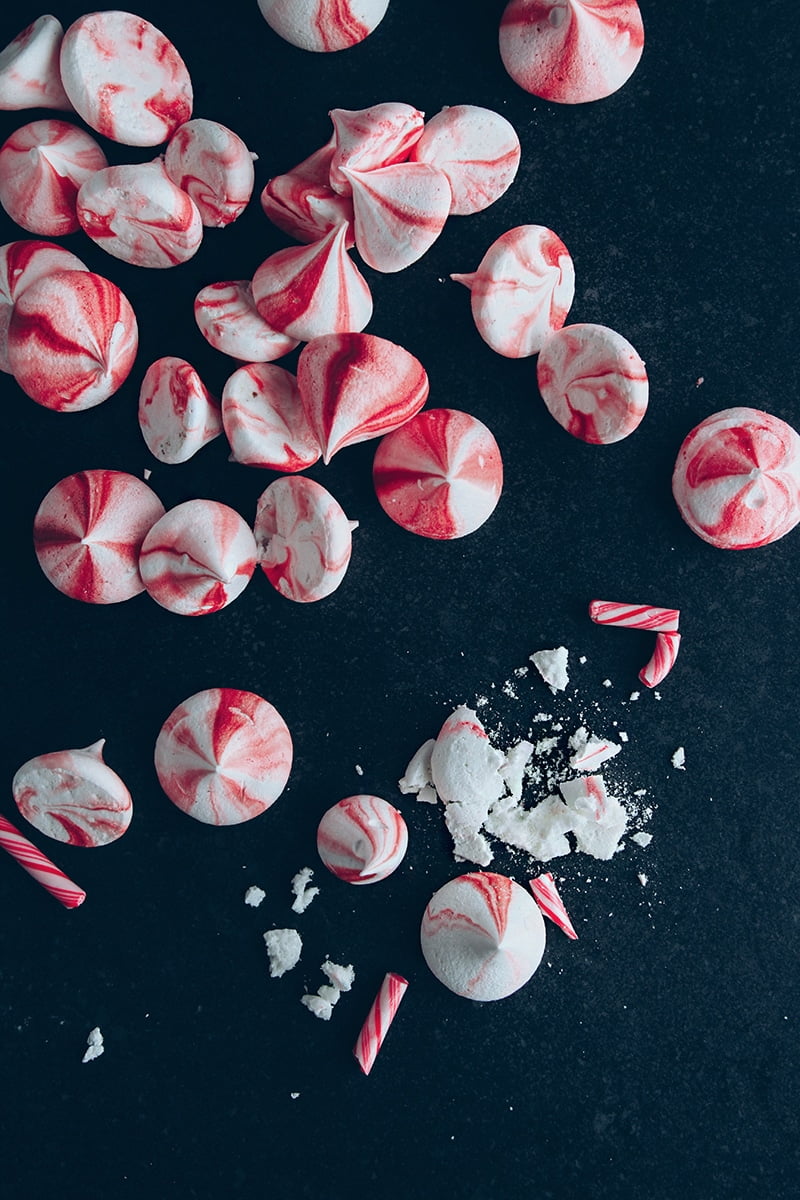
Candy-cane or peppermint flavour meringue kisses, to be precise.
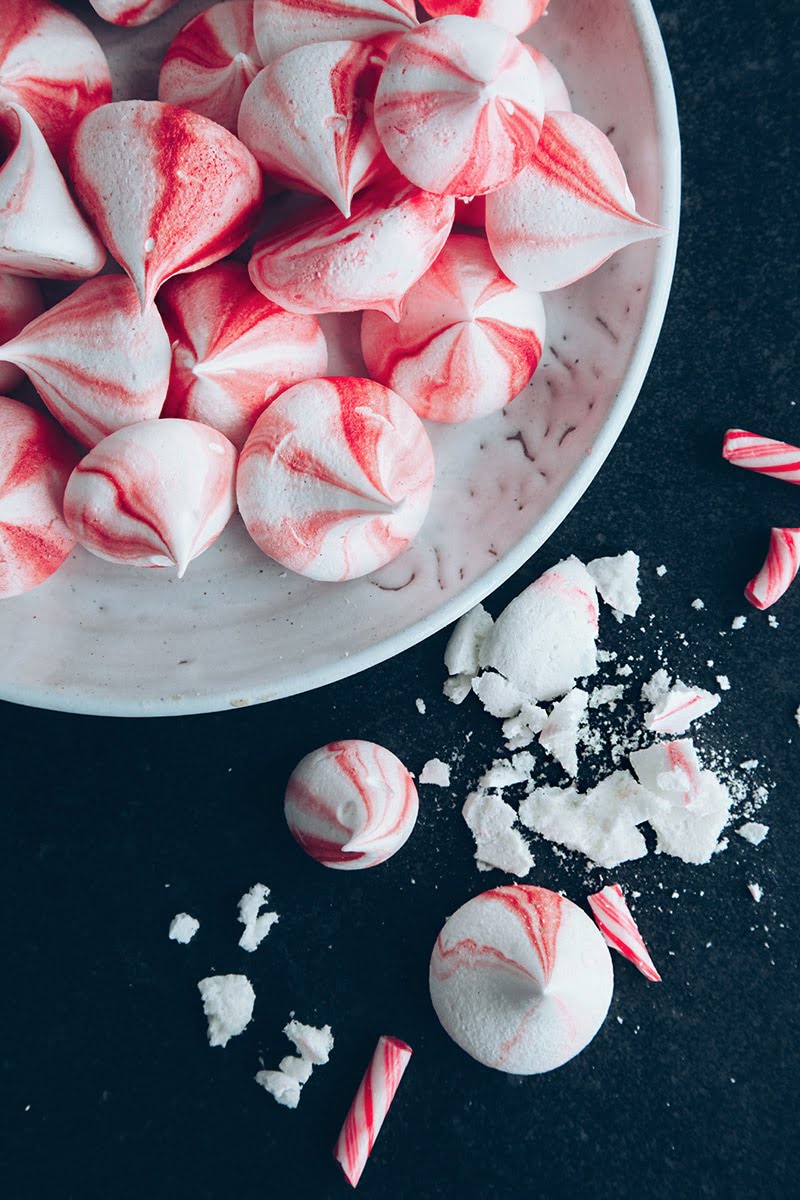
And not only are they adorable and festive, but they’re absolutely delicious!
They’re like candy canes that melt in your mouth.
📖 Recipe
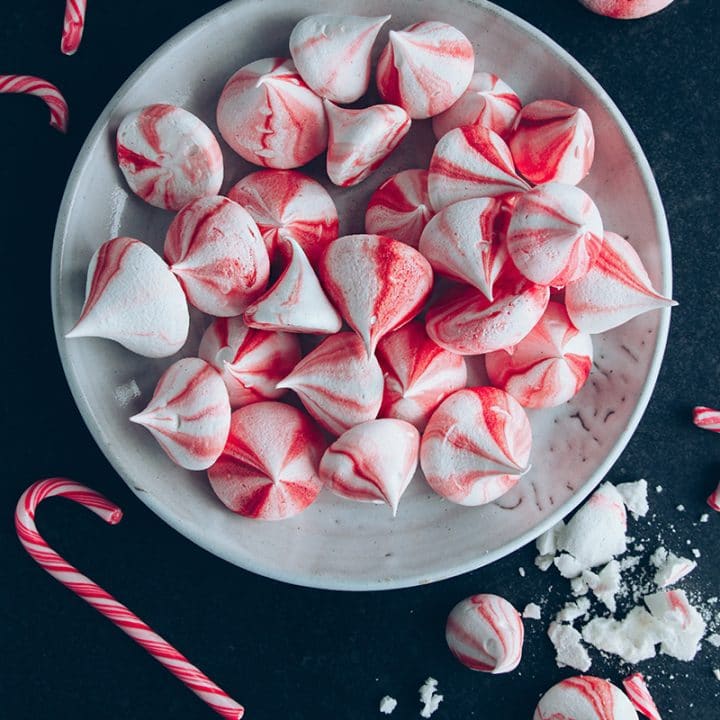
Vegan Candy Cane Meringue Kisses
Cute and delicious little vegan meringues that taste like candy canes!
Ingredients
- The liquid from 1 x 400 g / 14 oz can of chickpeas
- 150 g / 1 ¼ cups icing, confectioner's sugar
- 1 tsp peppermint extract
- 1 tsp vanilla extract
- Vegan-friendly red food dye
Instructions
- Preheat oven to 100C / 210F and line three baking trays with greaseproof paper.
- Drain the liquid from the can of chickpeas into a large clean bowl. You can keep the chickpeas for another recipe. Just add them to a container with some clean water and keep for up to 3 days in the fridge.
- Using an electric or stand mixer, whisk the liquid on a high speed until it forms soft peaks.
- At the stage, start slowly adding the icing sugar. Keep whisking until it reaches stiff peak stage (the mixture stands upright on the whisk).
- Mix the vanilla and peppermint in at the last minute.
- Meanwhile, open out your icing bag and carefully use the red dye and a teaspoon or a clean paint brush to paint red lines onto the inside of the icing bag. Starting from the bottom, stopping about ⅓ way from the top.
- Transfer the mixture to the icing bag and start piping your meringue shapes. Squeeze the meringue near the surface of the baking sheet and then pull up to peaks.
- Add the trays to the oven and bake for two hours. My oven tends to run a little hot so I used a wooden spoon to prop the oven door open slightly. If you have this problem too, you may need to do the same.
- After two hours, turn the oven off and let them remain in the oven for another hour to cool.
- They should be crunchy on the outside and soft and mallow-y on the inside.
- It's important to keep them in an air-tight tin as they will start to soften if left out too long.
- Enjoy!
Nutrition Information
Yield 60 Serving Size Per MeringueAmount Per Serving Calories 46Total Fat 1gSaturated Fat 0gTrans Fat 0gUnsaturated Fat 1gCholesterol 0mgSodium 13mgCarbohydrates 8gFiber 1gSugar 6gProtein 1g

Chelsea says
This recipe worked perfectly for myself. I only encountered one issue which is probably comes down to my local climate. Once they were out of the oven (about an HR after cooling) they became sticky (borderline melting) again. Put them back in the oven for 10 minutes and all was fine!
I can’t wait to give these to my nephew! He has a serious egg allergy, so this was an awesome recipe!
Meriah says
Horrible recipe !!!! Making them for Christmas I was beating the ingridenta for half an hour got no where but a slight thick paste so I tried it, couldn’t pipe it at all!!! Just goop on my sheet. So disappointed!
Jenn says
Same here…it was fine until adding the vanilla and peppermint at the end. Bummer!
Vanessa says
Am I missing a recipe for the dye? Is there a product you buy? Thanks!
Tana says
Hello, do you think these will mail well? I would use tins from michaels to store and mail them in. Thanks for the recipe!
Aimee says
Hi Tana. Honestly, I’m not sure they will. Depends how quickly you can get them to the sender! They tend to go soft after a couple of days, unfortunately. Good luck!
Joelle says
Do these freeze okay? I’m wanting to try these and get a head start on holiday baking.