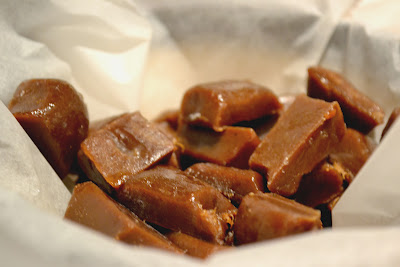
Magic 4-ingredient caramels or toffees made with paleo-friendly ingredients! Easy to make and great for homemade gifts, especially for those avoiding refined sugars and dairy.
I’m not over exaggerating when I say that these are one of the most delicious candies I’ve ever tasted.
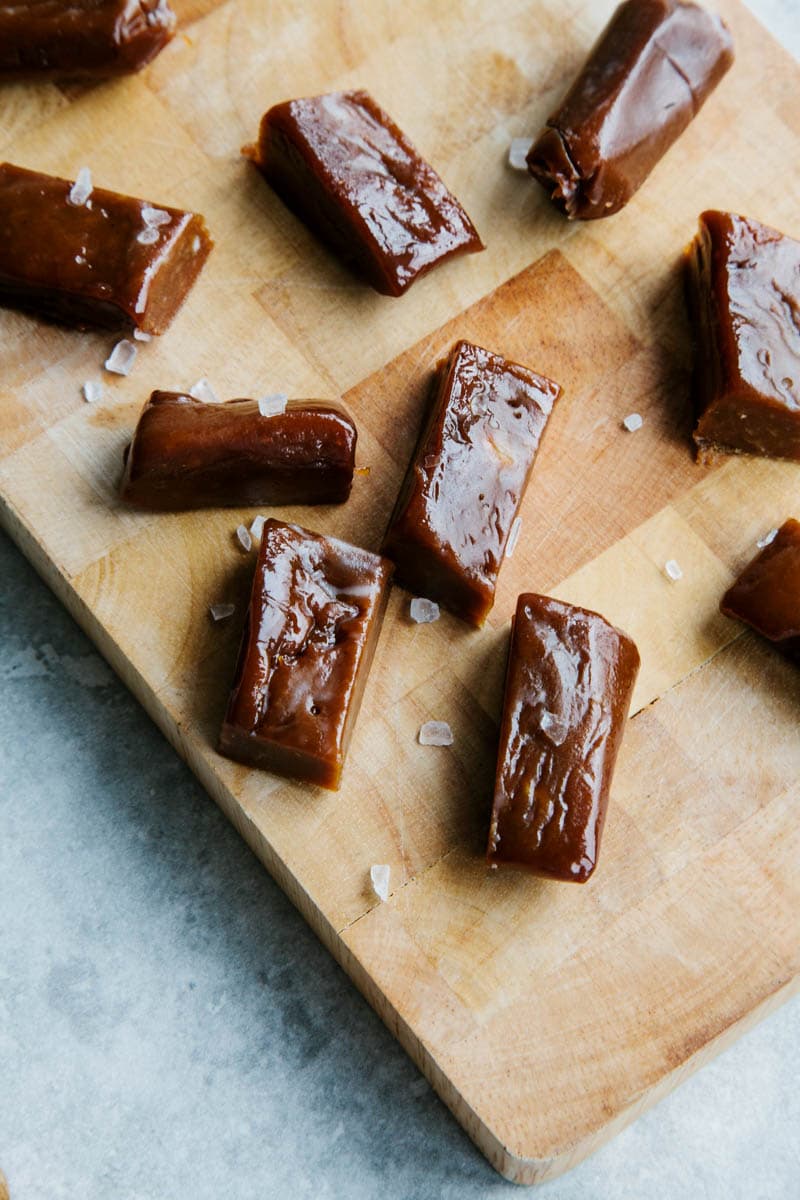
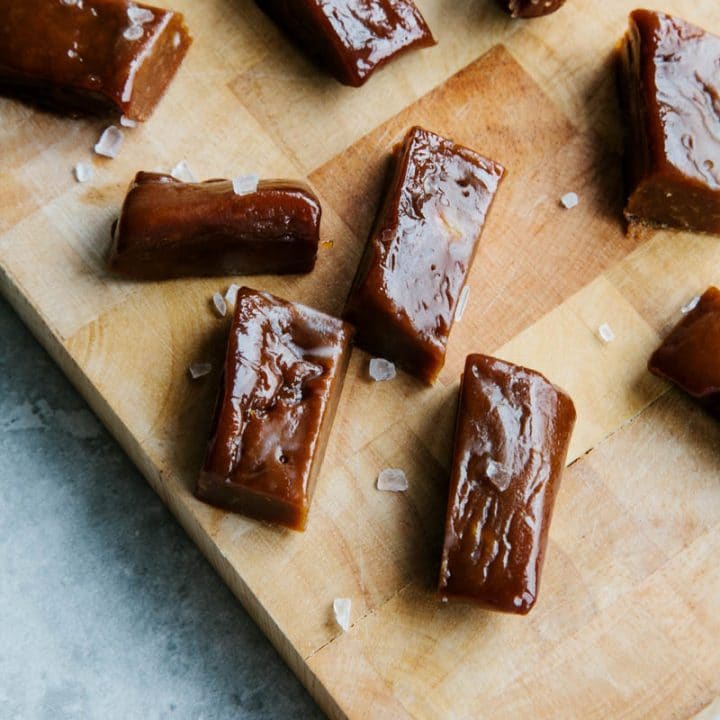
Sweet, comforting toffee caramels with an amazingly chewy but soft texture. Made out of purely coconut products!
This recipe came about when I was trying to create a “butter tablet” using coconut cream, instead of dairy cream, coconut oil, instead of butter and coconut sugar instead of ordinary sugar.
What I ended up with wasn’t a butter tablet but it was the most amazing toffee! I really don’t know what to call it. Is it toffee? Is it caramel?
It’s got a natural treacle-y sweetness so I settled for “treacle toffee” but these could also work as salted caramels.
Whatever they are, they’re amazing.
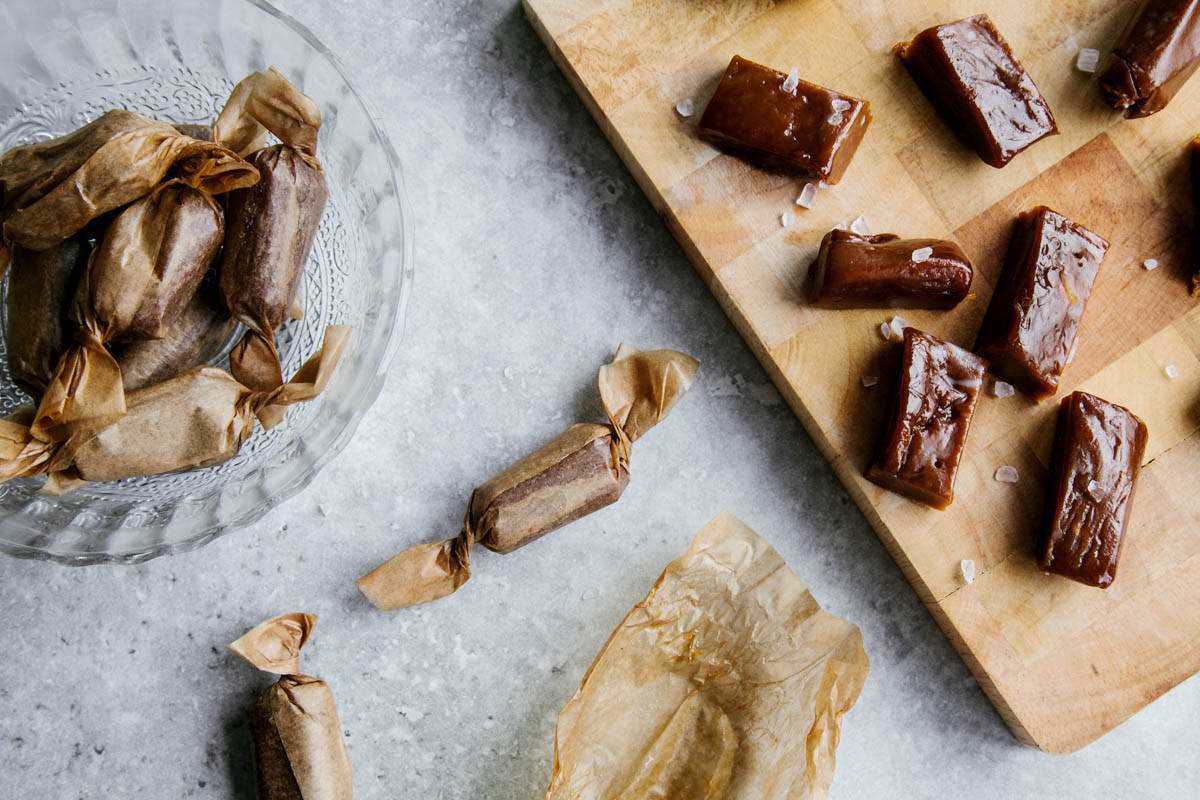
These candies make the perfect gift, especially when you wrap them up individually. It’s so simple!
You just get some greaseproof paper and cut it into squares (roughly 4 x 4 inch) then place the candies in the centre, wrap either side and twist the two sides to create a classic sweet wrapper.
I got this idea from Zoe at Minor Goods. She made my toffee last year and posted this amazing photo on Twitter of them wrapped up.
I loved the idea so I had to incorporate that into my new photos for this recipe!
Anyway, onto the recipe. These toffee caramels are:
- Vegan
- Dairy-free
- Soy-free
- Nut-free
- Gluten-free
- Grain-free
- Paleo-friendly
- Refined sugar-free
📖 Recipe
4-ingredient Vegan Toffees (Paleo-friendly)
Indulgent, sweet toffee caramels made entirely from coconut products!
Ingredients
- 400 g / 2¼ cups coconut sugar
- 750 ml / 3 cups coconut cream, you can also use coconut milk that has been refrigerated. Simply scoop the "fat" from the top of the tin
- 6 tbsp coconut oil
- (optional) A generous pinch of sea salt
- (optional) 1 tsp vanilla extract
Instructions
- Line an 8×8 baking tray with greaseproof paper and put to one side.
- Tip all ingredients into a large pot on the stove and bring to a boil.
- Stir the ingredients as it reaches boiling point, then turn down to a medium heat. Keep stirring!
- Maintain the medium boil and stir every so often, for about 20 minutes or until it's reduced and thickened. To test if it’s ready, using a spoon, drop a piece of the mixture onto a tray and it should turn solid within a minute. If it remains liquid, then it’s not ready.
- Carefully pour the contents into the baking tray and leave to cool and set.
- If the mixture has separated slightly, don't panic. This happened to me on one occasion but it still turned out perfectly!
- Let it set in the fridge for about an hour before cutting into small caramel pieces.
- (Optional) wrap in small squares of greaseproof paper for easy storage or to give as gifts!
- Keep at room temperature and store for up to 1 month (if you can last that long without eating them all...)
Jasmine says
Caramel consistency is really good- they have a strong coconut flavor at first taste which mellows out and then you get a hit of roasted coconut at the end. For folks who can’t eat dairy they were pleased, but straight up if you don’t care for coconut you likely won’t like these. I’m really curious though to do some experimenting of my own based off this recipe to see if I can get the coconut aftertaste down.
Josie @ Sugar and Satire says
These look so good! Could they be melted down and used to make caramel apples?
Aimee says
That is an amazing idea, Josie! I would just use the boiled mixture to coat the apples and let them set. You probably could melt down the set ones too though. Let me know if you try that – I might give it a go too!
Milissa says
Hi, I just tried this recipe. I was hesitant after reading comments that it didn’t come together so well and seeing no comments on success but I decided to give it a shot anyway. So far the result is fantastic…the toffee is in the refrigerator right now so we’ll see what happens when I try to cut them but so far, so good. I do have a couple tips… first, make sure to use coconut cream or as Aimee suggests, scoop the cream off the top of cans of full-fat coconut milk that has been chilled so the cream is solid. That’s what I did and it took three cans to get the three cups of coconut cream. You have to be super careful not to include the leftover coconut water. Second, I chose to use a candy thermometer and cook the mixture, stirring constantly until boiling, then about every five minutes until it reached the “firm ball” stage, about 245-248 degrees Fahrenheit. Now, this took nearly and hour for me, so if it’s coming together after 20 minutes as the recipe suggests, my guess is that it’s being heated at a relatively high temp. Third thing, when I poured it into the pan after it had reached the ‘firm ball” stage, there was a lot of toffee that clung to the pot, I scraped all of that into my lined pan and stirred it really well. The mixture cooled and set quickly with no separating although it did separate a lot during the last 10-15 minutes of cooking. I just kept whisking every five minutes, though and it did reduce and thicken as the recipe indicates. These are going to make such a yummy addition to the treat boxes we’re putting together for teacher gifts. Between my two children, we have 15 teachers to get Christmas gifts to. Starbucks cards were out of the question this year as I am not independently wealthy! Thanks for creating such a delicious vegan toffee recipe! I rated it at four stars, only due to the differences in cooking times for me but the taste is a total five stars:)
Beth says
Mine set nicely but separated drastically near the end, and is just sitting on the top of my tray – I’ll have to pour it off… It’s such a shame I did try whisking it in but it just wouldn’t… Any way to avoid this? Hear it slower or faster or something .. Tastes and smells amazing but I really want that cold coconut fat in the end result!!
Lauren @ Lauren Caris Cooks says
These look SO good! I’m just starting to get more experimental with vegan baking, so these are going on my list to try! How fun!
Aimee says
Thanks Lauren! I will definitely be making some again for Christmas :-)