I remember looking up how to make rose water a long time ago and being put off by how seemingly complicated it looked.
The idea of having to distill water and stand over a hot stove for hours somehow didn't seem quite worth the effort.
So I looked into it more and realized... it really isn't complicated at all.
And in fact, it's so quick and easy you could do it in under 30 minutes! Using everyday equipment and roses from your (or your very kind neighbour's) garden.
There is something so satisfying about making something homemade from scratch, especially when it's made with materials from your own garden.
And it's not just about the end result, there is so much pleasure in the process. The amazing aroma that will fill your house is worth it just alone to try this...
Let me know if you have a different method or have successfully made your own below, I'd love to hear how others make theirs!
Some things you can do with your homemade rose water...
- Use it as a facial toner. You don't need to do anything else to it, rose water is a ready-made skin care product!
- Put it in a spray bottle and make a scented room mist. Or a nice perfume (although it won't last long, unfortunately)
- Eat it! It's my new favourite flavour in cooking. Try my rose-raspberry ripple ice cream or rose water scones
- Add it to lemonade or cocktails for a floral kick
+ tons of other uses! It will be your new favourite thing...
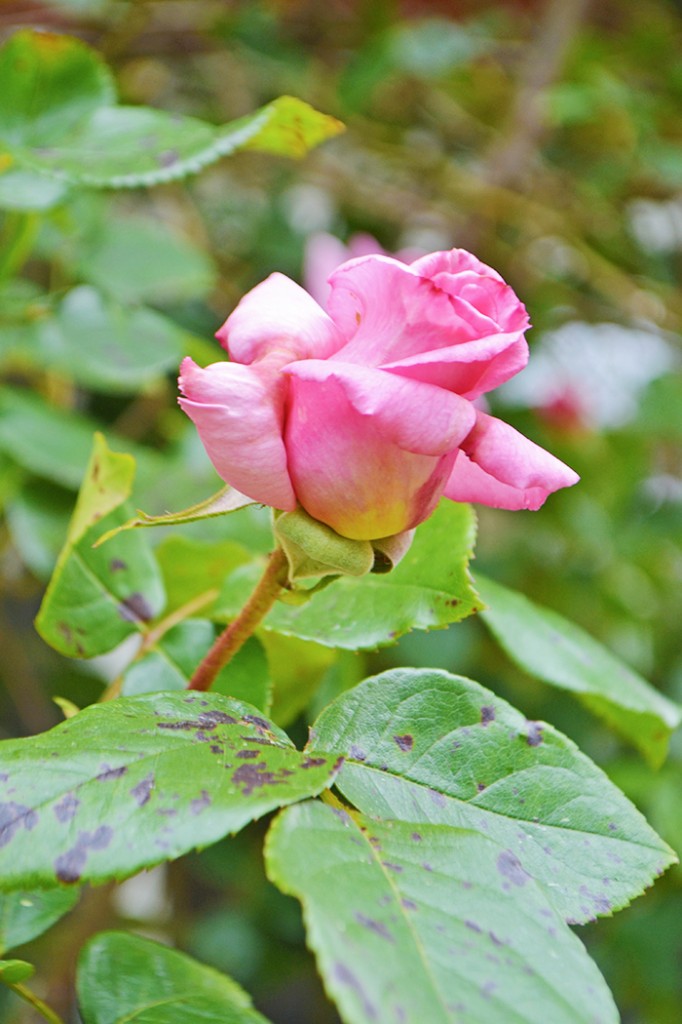
If you need more of a visual walk through, click here for a video I found using the same method.
📖 Recipe
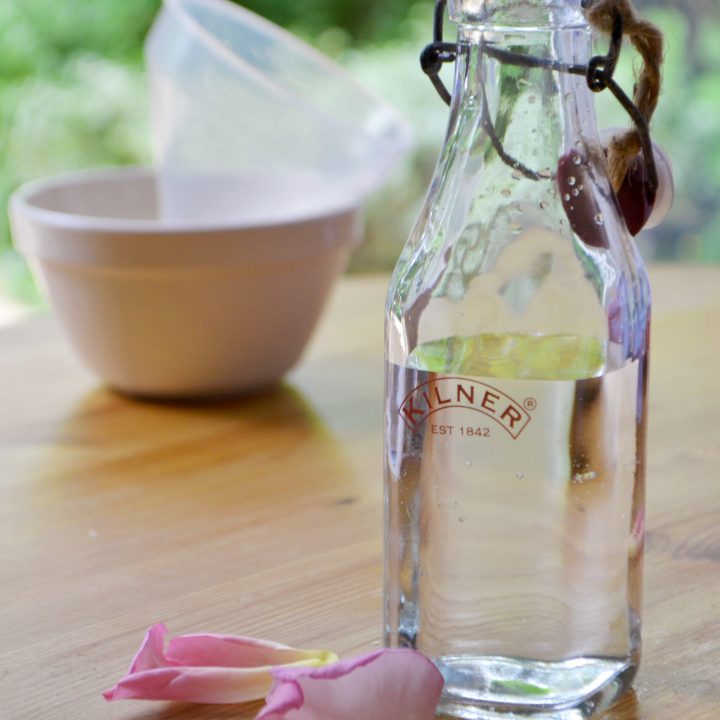
Homemade rose water: A quick and easy method
An easy homemade method for making your own rosewater, from fresh rose organic rose petals.
Ingredients
- 4 Roses - Fresh, pesticide-free, preferably grown in yours or a friend’s garden so you know where it’s from
- A large saucepan with lid
- A small heat-proof bowl
- A brick wrapped in tin foil
- Ice cubes
- Kitchen towel
Instructions
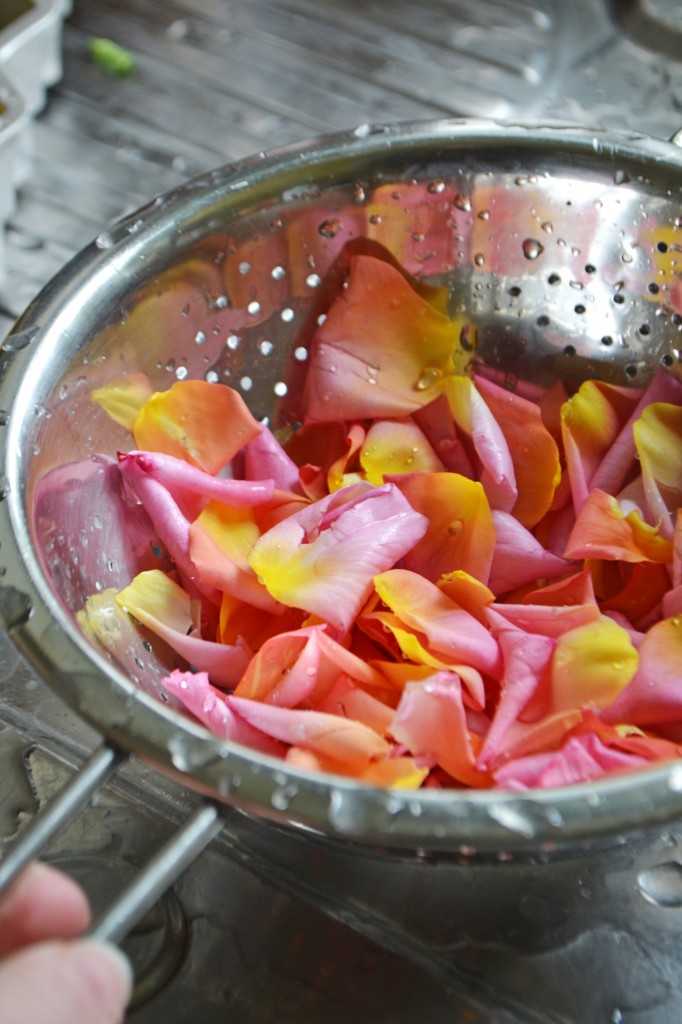
- Make sure the roses are clean and bug-free. To do this, fill a bowl with ice cold water (cold tap water will do) and shake the flowers around in the water to release any bugs that may be hiding in the buds.* Then pick off the petals and give them a good swirl around in the water.
- Pour the contents through a strainer and wash the flowers again from the tap with a strong jet, making sure no bugs or dirt remain. Discard the stems and leaves.
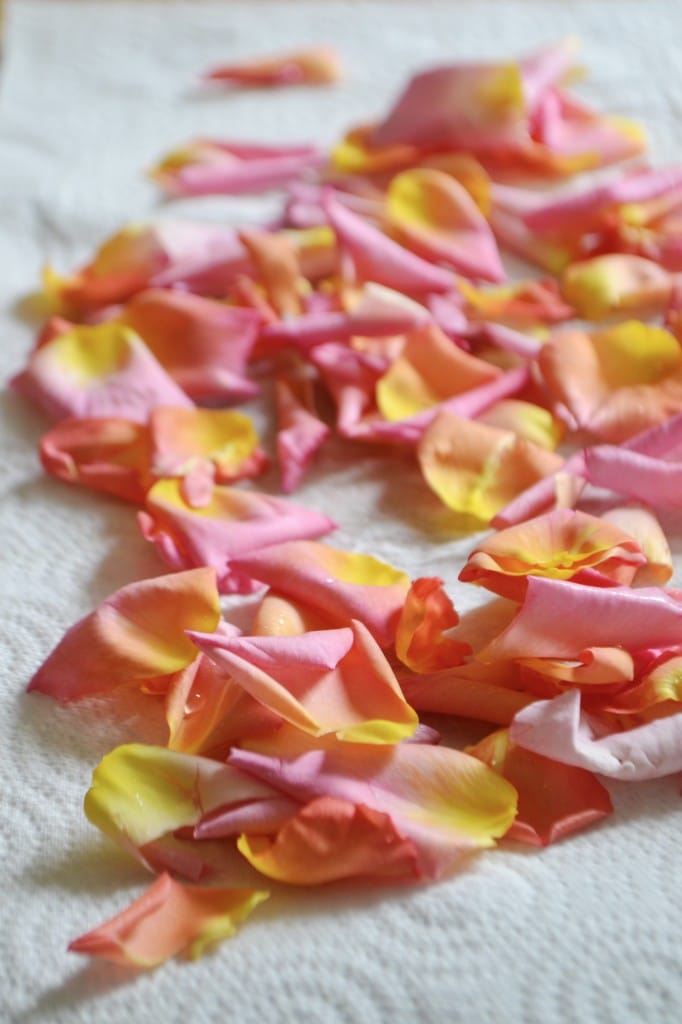
- Turn the petals out onto 2 sheets of kitchen roll and pat dry.
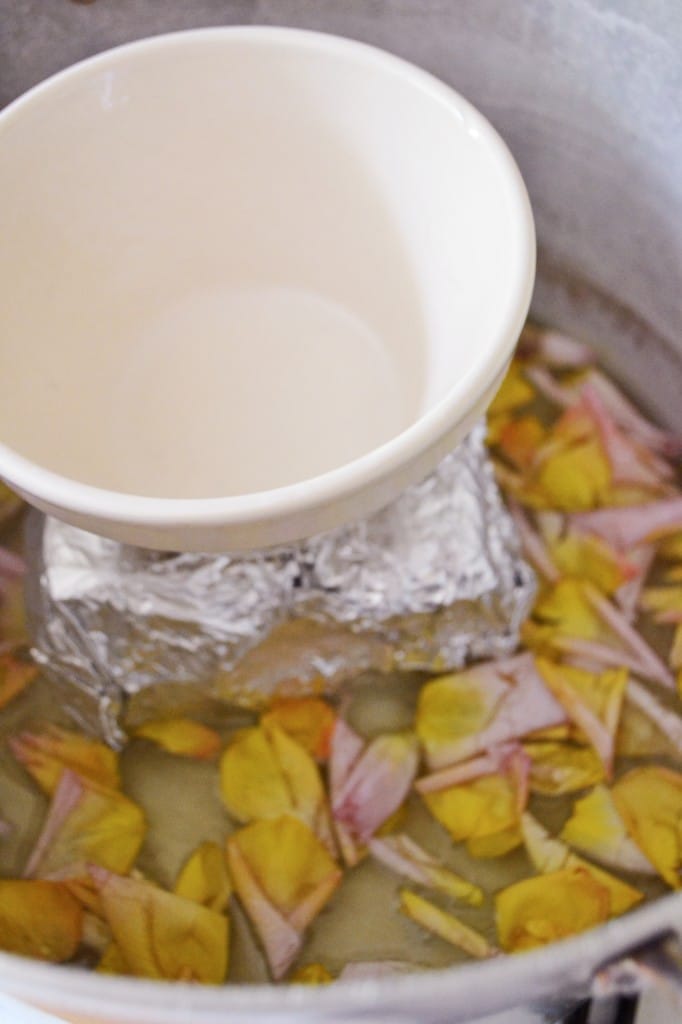
- Place the foil-covered brick at the bottom of your saucepan on the hob and on top of the brick, place the heat-proof bowl. The purpose of the brick is to elevate the bowl whilst it collects the condensed water.
- Scatter the rose petals around the brick and pour in just enough water to cover the petals.
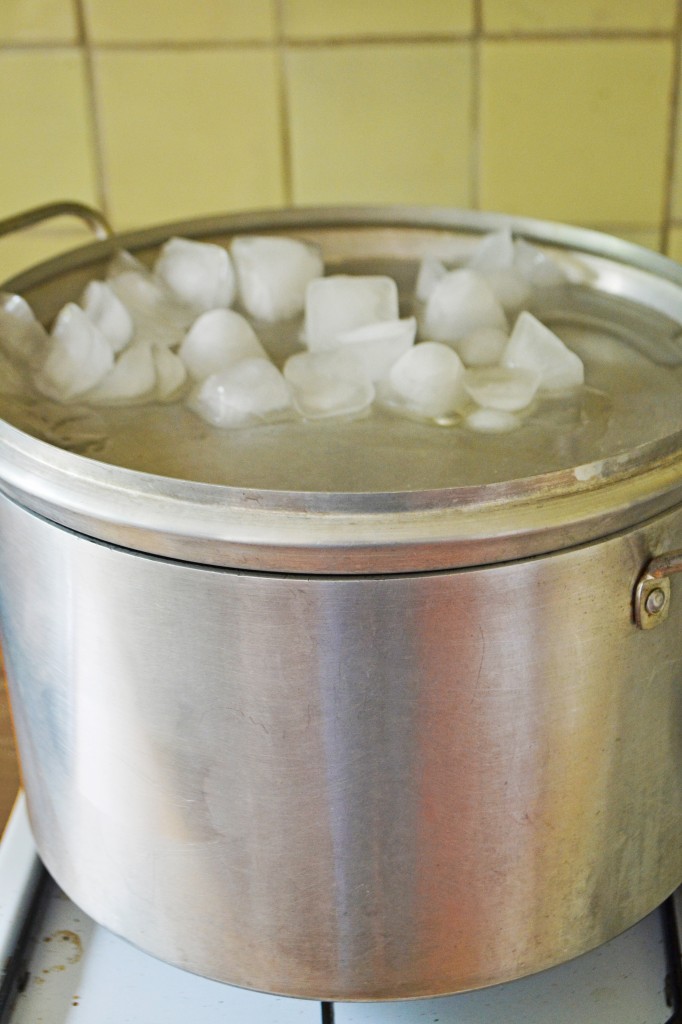
- Bring the water to a medium-high heat to boil and place the lid on upside down (yes, upside down.)
- Put the ice cubes on the upside down lid. This will accelerate the condensation process, helping the bowl inside to collect the rose water faster.
- After about 20 minutes, carefully remove the lid (pour away the melted ice cube water) and see how much liquid the bowl has collected. There’s your rose water! If there is only a small amount, just put the lid back on and leave it a bit longer. Some other tutorials suggest to leave it for up to 2 hours, to collect more water.
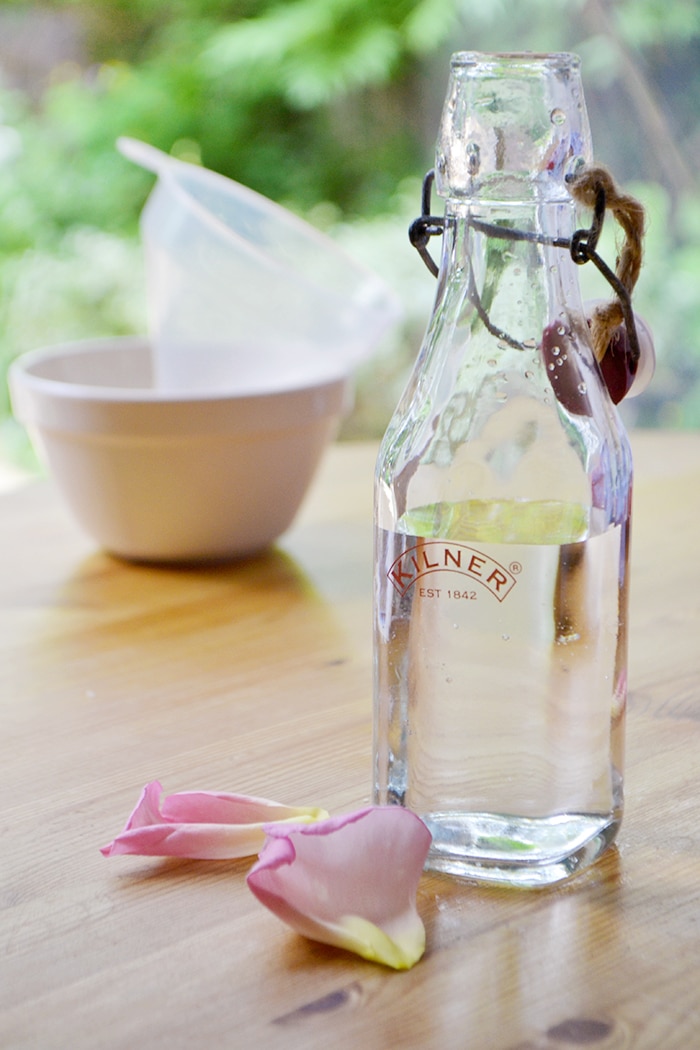
- Very carefully remove the bowl and leave to cool. You can then transfer the rose water to a glass bottle or jar and keep for up to 3 months at room temperature.
Notes
*If you’re grossed out by ants and spiders, wear marigold gloves for this part!






Shelia Stull says
I tried this with pink and red roses from my garden. I did not use a brick but placed a small glass bowl in the center of the water.. it floated. I caught the clear water in the bowl. But also kept the red colored water too. Turned out great. Doing it again. ( did not use distilled water either.
Katie Kerr says
how long do you think this rose water will last? does it expire? ( using as a skin care ingredient)
Adi says
This is so simple that I have to try it sometime!