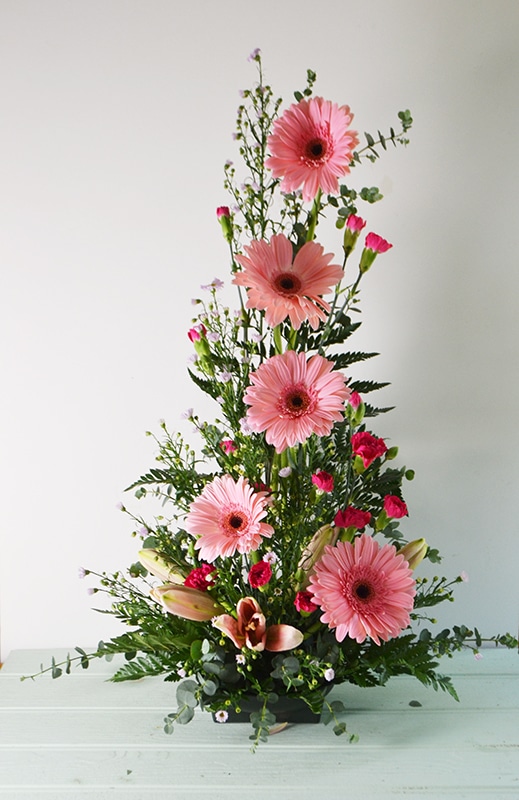
 Symmetrical front facing arrangements are a classic triangular design, usually used for special occasions and church arrangements but are just as lovely to have at home on your window sill or mantle piece.
Here is a very rough guide on how to make your own at home for under £20:
You will need…
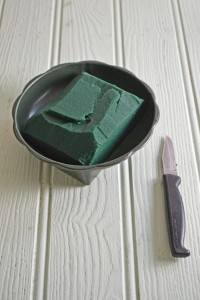
- A square round bowl
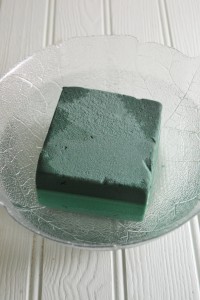
- Oasis (roughly a third of a block)
- Pot tape to secure the oasis
- A sharp knife to cut the oasis
- A good pair of scissors
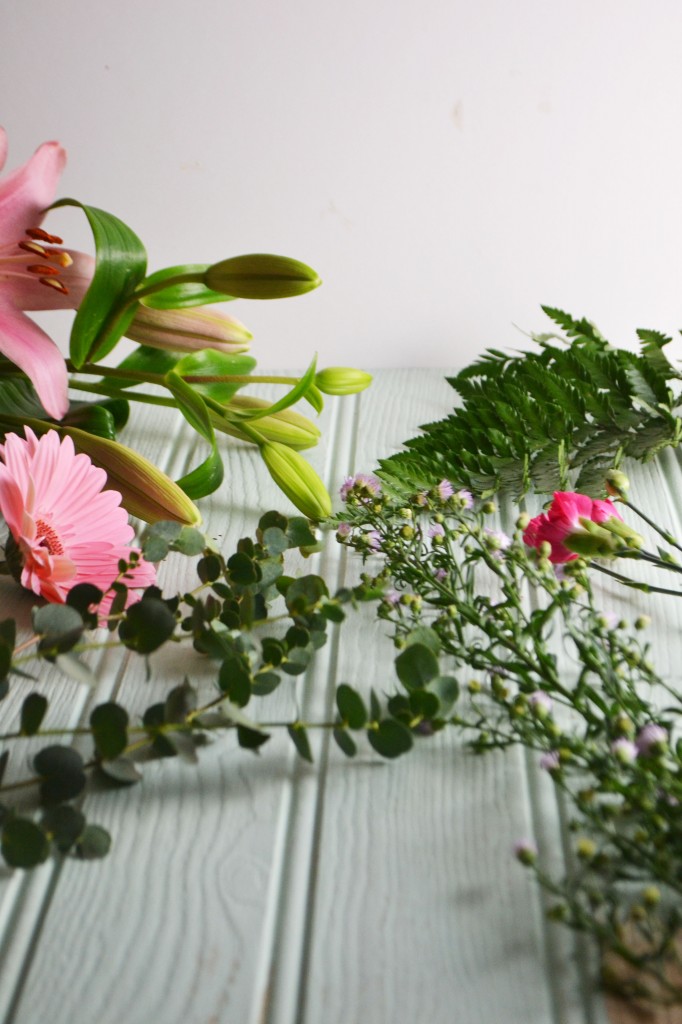
- Foliage – a mixture of two. I used eucalyptus and leatherleaf but soft ruscus and ivy would also work great.
- Focal flowers – I used 5 gerberas. Roses would work well too.
- Secondary flowers – I used a few lilys at the base. Carnations and tulips would work well.
- Flowers for height – I used spray carnations but you could also try wax flower or delphinium. You can use a couple of different types here.
- Filler flowers – I used limonium. Thistle, hypericum and chrysasnthemum would be other good choices.
*Make sure the flowers and foliage you choose have complimenting colours and textures that would work well in this design.
*If you’re feeling frugal, try sourcing the foliage, and perhaps some filler flowers from yours or your neighbour’s garden. You can also sometimes find very cheap or reduced flower bouquets in your local supermarket. I have seen bouquets with germinis, lilys and gypsophila for just £5 or under in Morrisons.
- Fill a sink or container with water and soak the oasis for a few minutes.
- Once it’s wet, cut the oasis block to the right size for your pot. Place in the pot, chamfer the edges with a small knife, then secure with tape.
- Start creating the shape of the design by taking the tallest, thinnest pieces of foliage, inserting it into the oasis and building up from the back.
- Add the side pieces using shorter pieces of foliage (the width of the design should be ⅔ of the height) coming from the back, sweeping forwards slightly.
- Keep adding foliage to create the triangular shape desired.
- Now start adding some flowers (more foliage can be added later when needed) starting with the main focal flower. Place the flowers at different heights for a staggered effect
- Use the secondary flowers to echo the line of the focal flowers and keep them tucked in, closer to the oasis.
- Follow the above step with the filler flowers but keeping them more tucked in and again, closer to the oasis. They should enhance the focal flowers and not drown them.
- Add any more foliage or filler flowers if you think the arrangement needs it, then to finish, add some foliage at the back of the design to keep it looking neat and making sure the oasis is out of sight.
- Done! Beautiful! Now put it on your window sill or give it to a friend to enjoy
Tips:
*I used florist wire to wrap around my gerberas to make them more straight and flexible. This is very useful stuff to use on the more “floppy” flowers!
*Once you place a stem into the oasis, it creates a hole that stays there. So try not to move flowers about too much and think carefully about the positioning before you insert them into the oasis.
*Remember to keep the weight in the bottom middle of the arrangement (or else it will fall on your face!)
*Keep the oasis moist and the flowers fresh by pouring a little bit of water into the dish when it looks like it’s drying out a bit.







Leave a Reply