Whilst perusing Pinterest the other night, as I often like to do, I came across a lovely tutorial for "shamrock" barettes. They are super cute! However, they're not actually shamrocks. They're four leaf clovers (shamrocks have 3 leaves.) So I decided to try out the same technique but with only 3 leaves, and made them into a headband with a piece of black elastic. I think it's a pretty good look! A not-too-in-your-face way to dress the part on St Patrick's Day...
How To Make a Shamrockin' Headband:
You will need...
- Green felt, preferably more than 1 shade
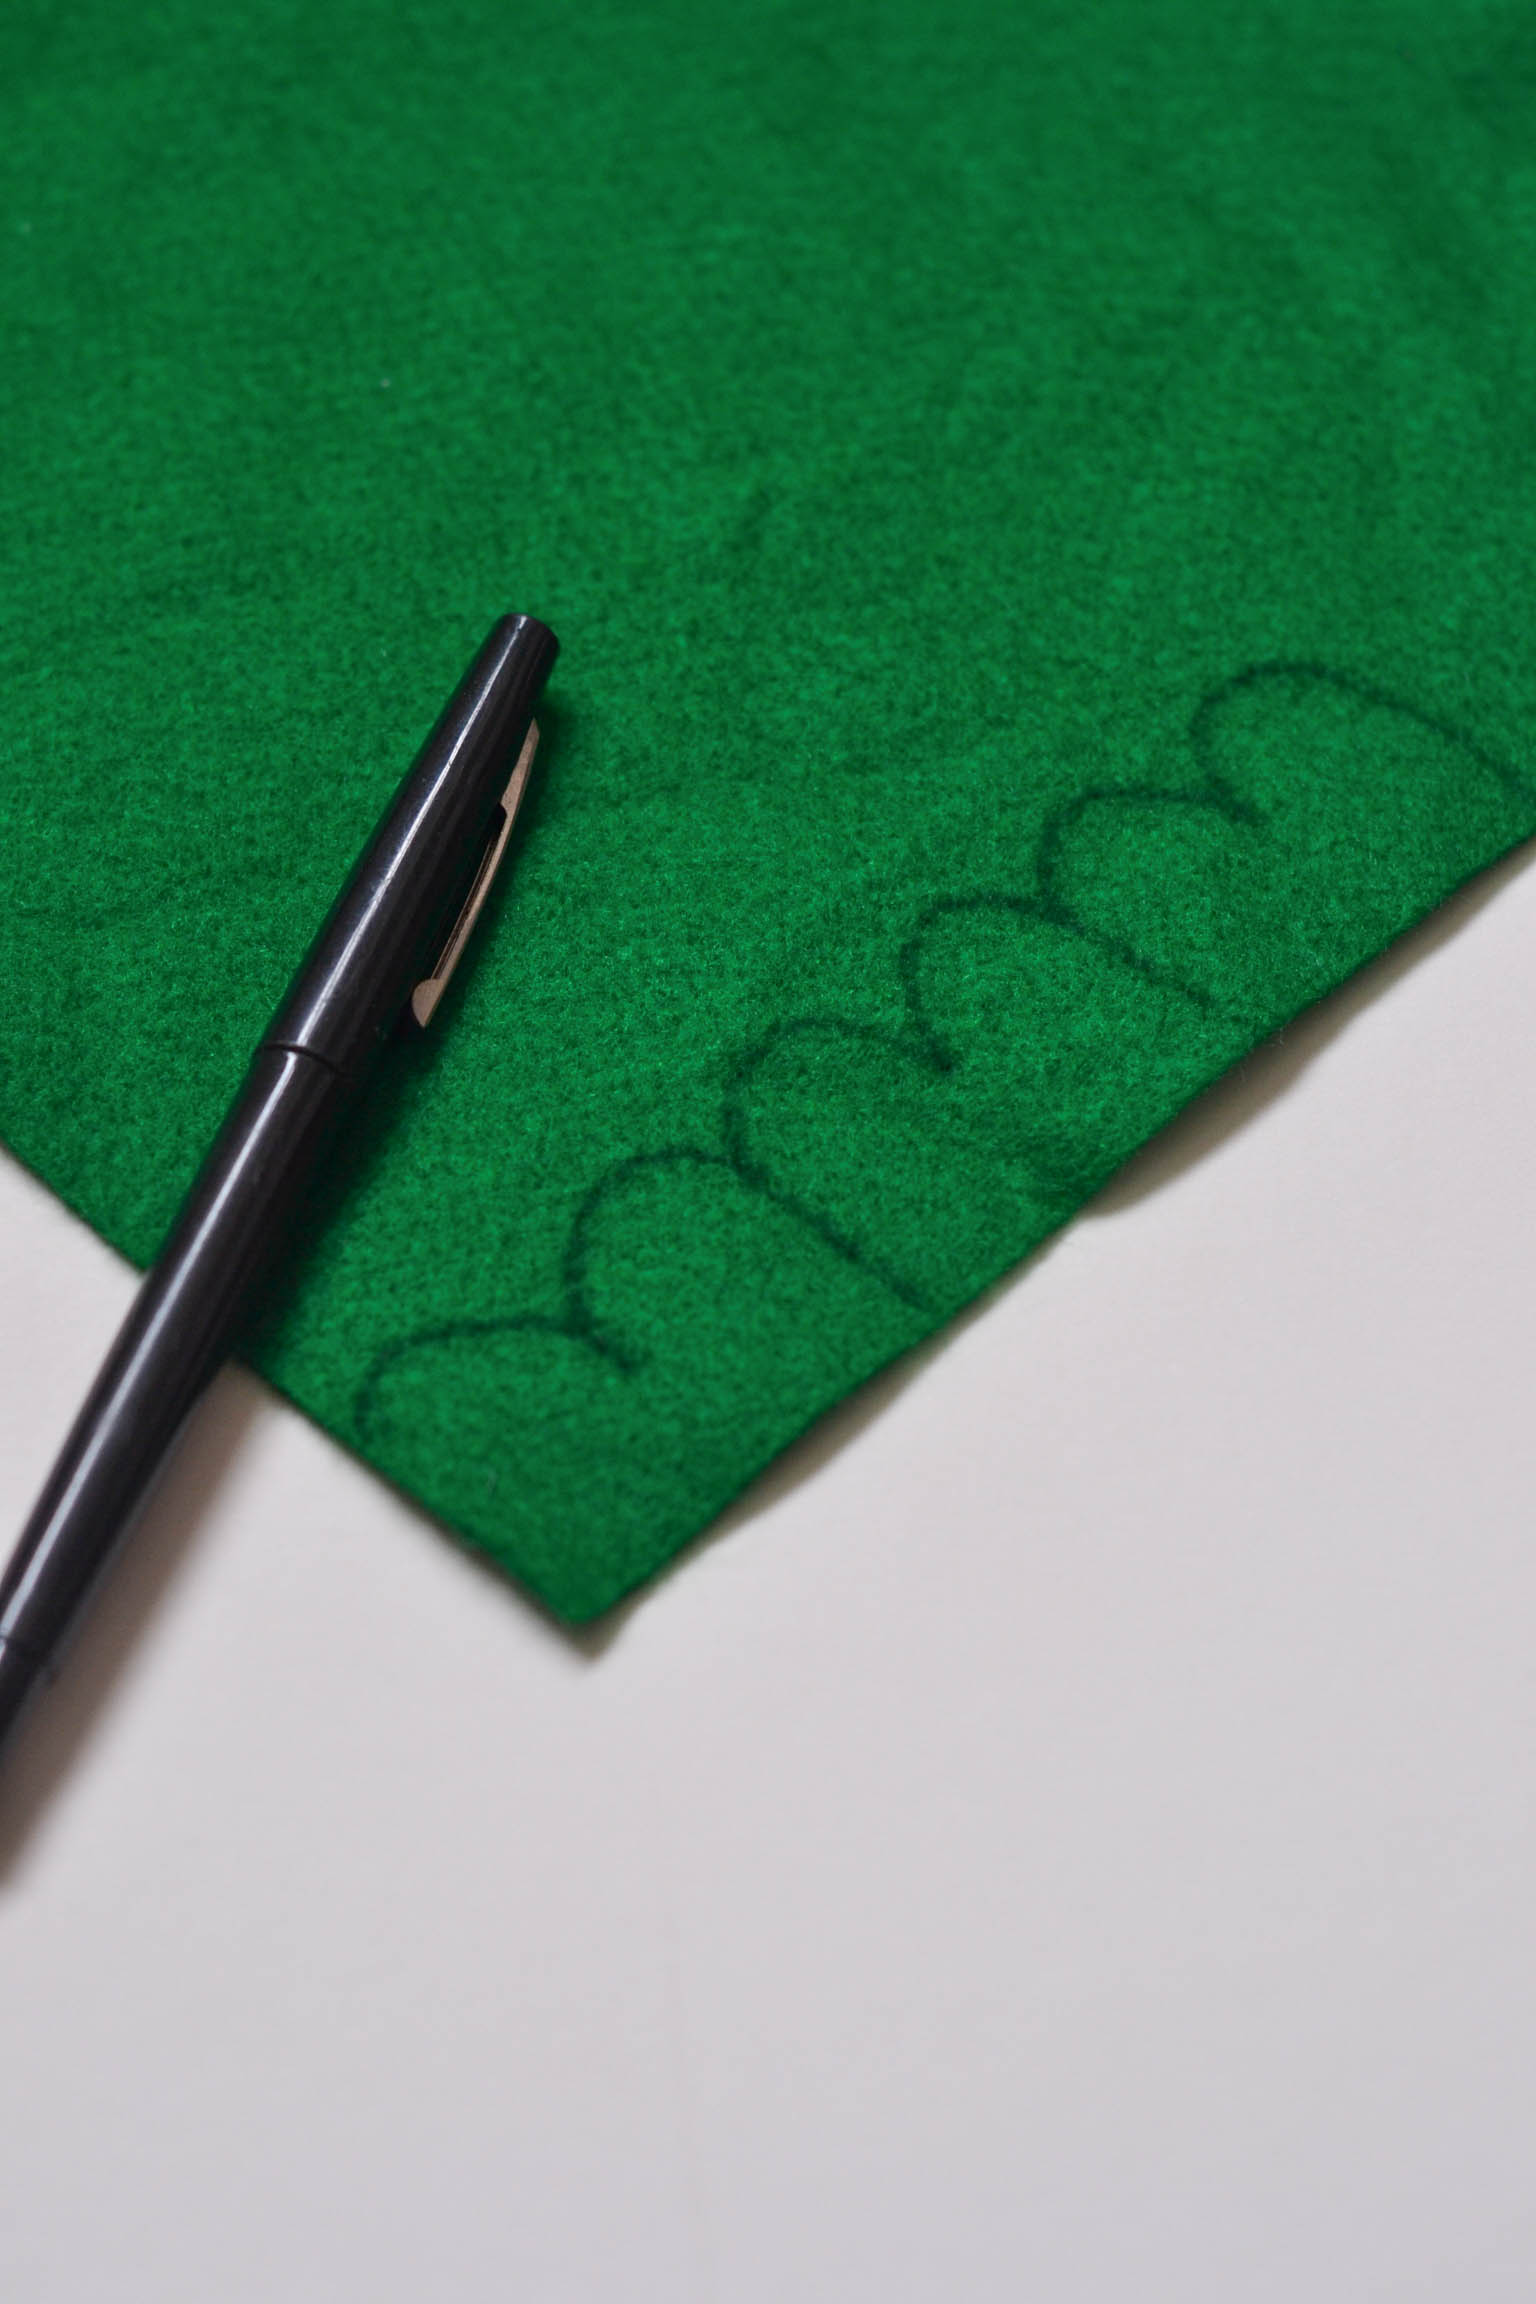
- A fabric marker
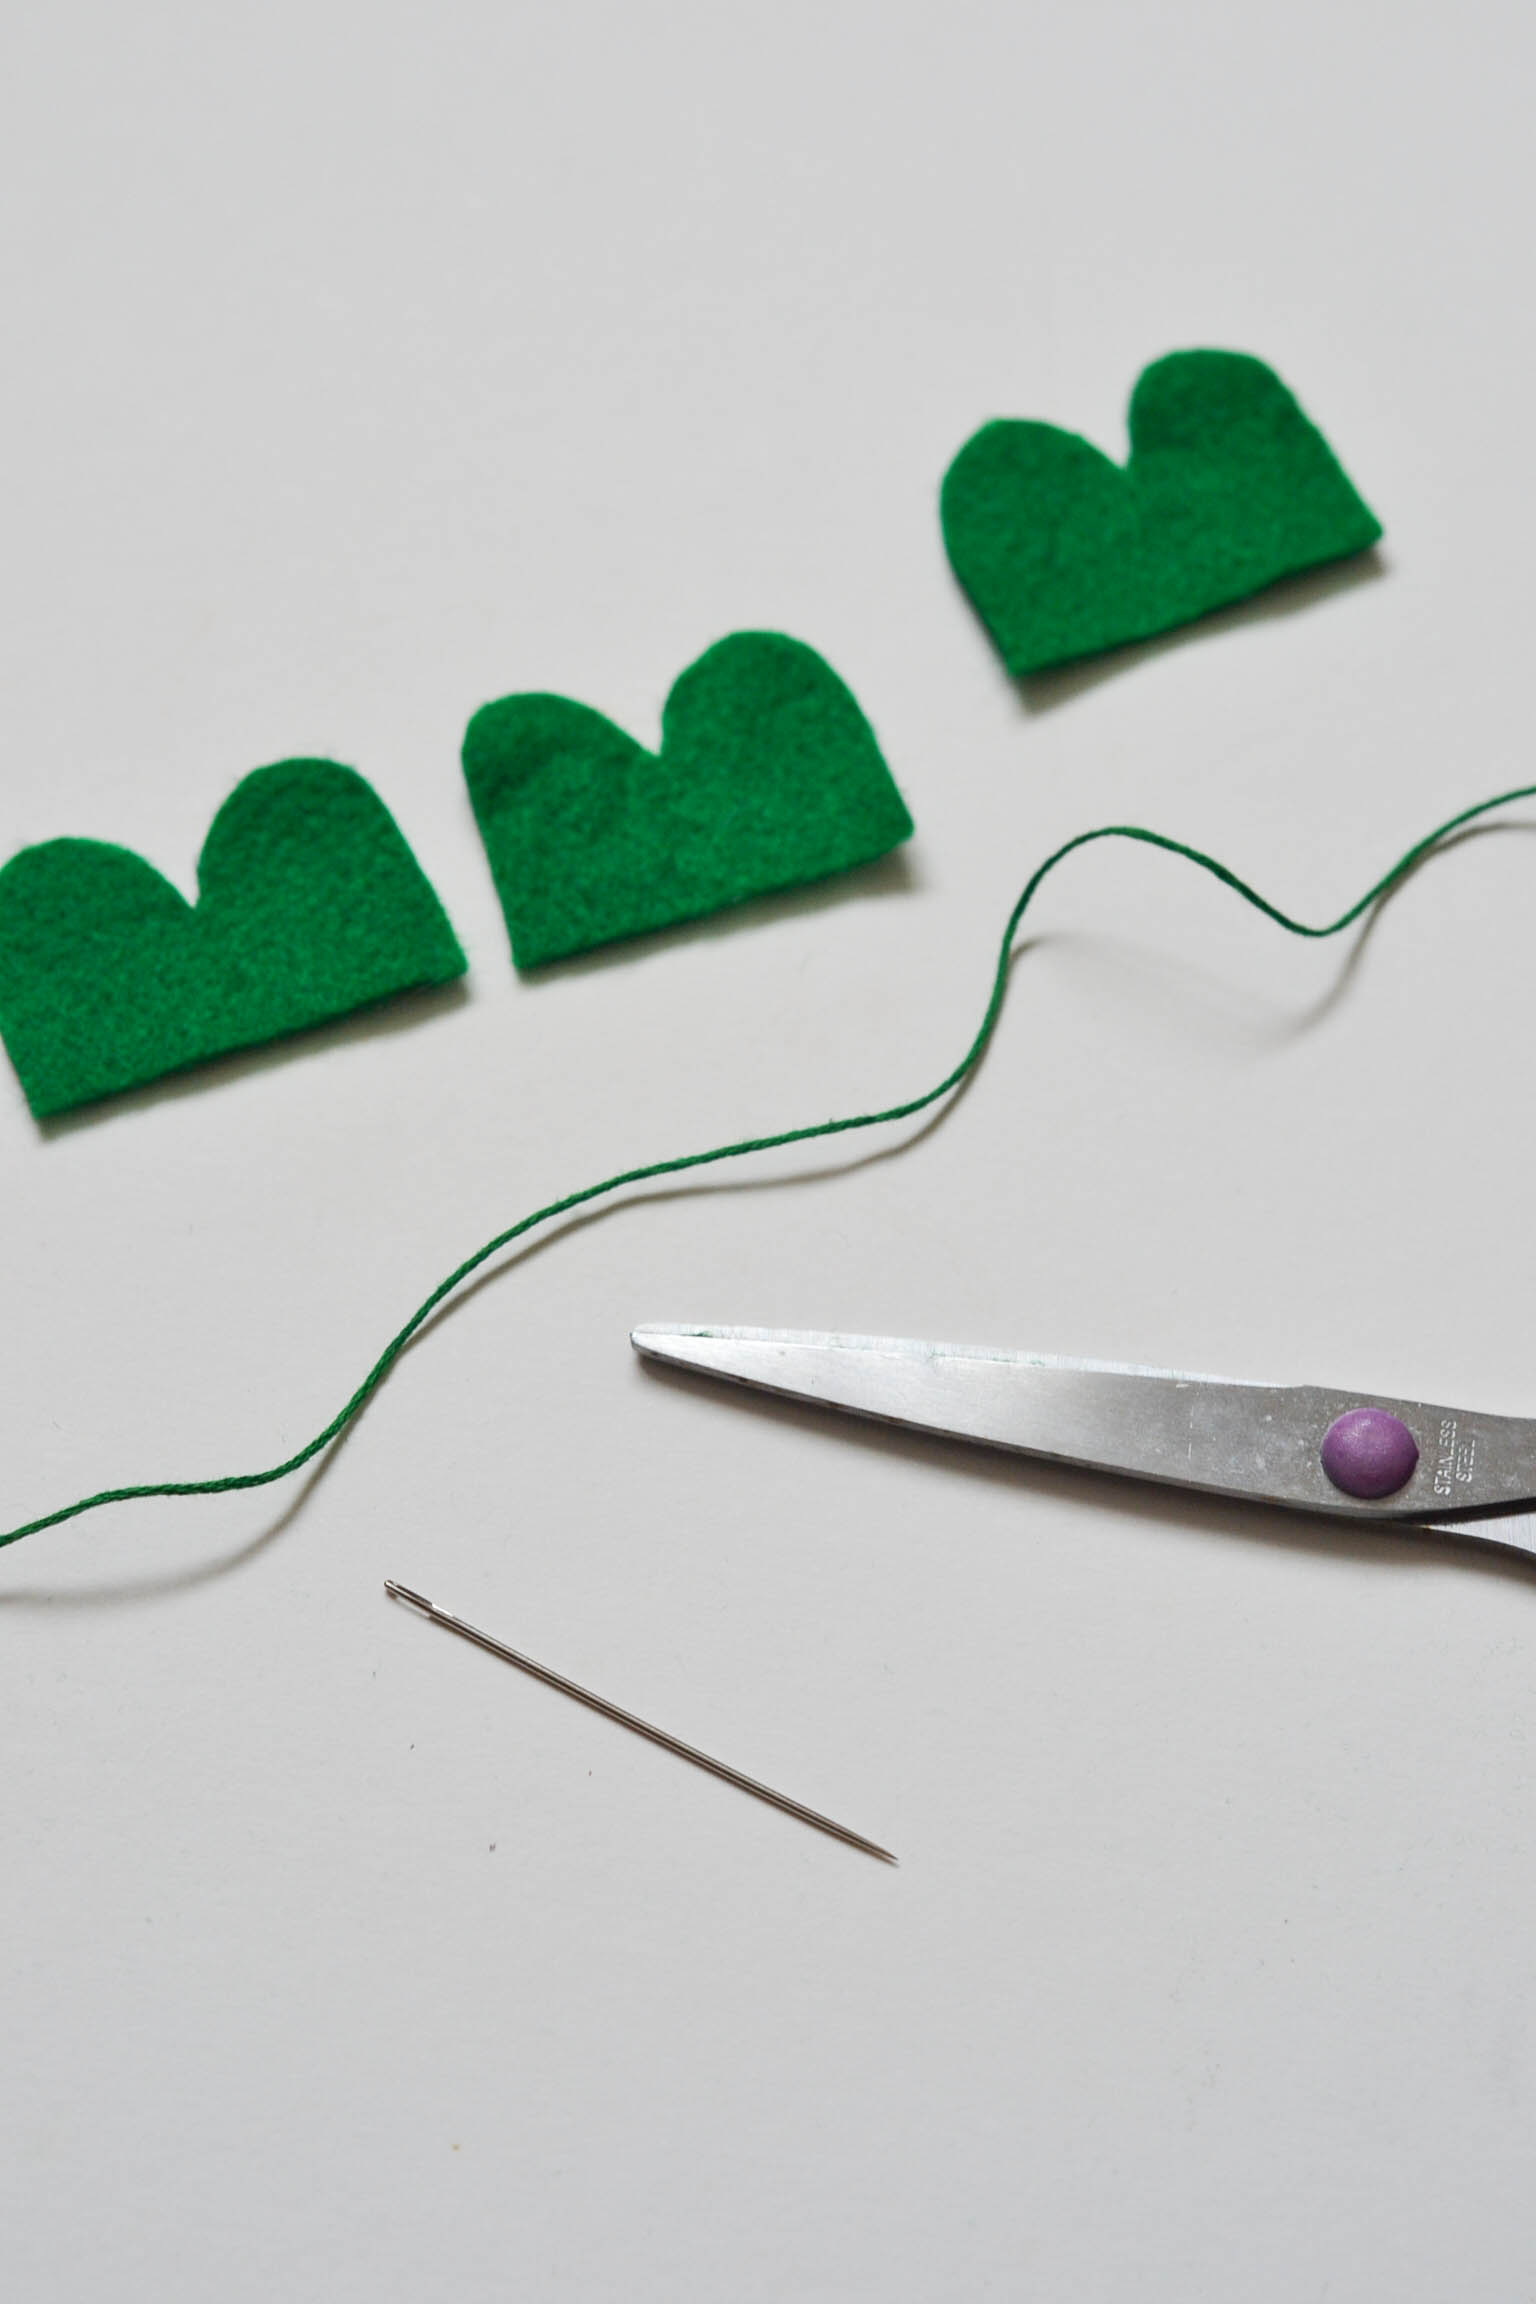
- Scissors
- Green thread and a needle
- Elastic or a plain fabric headband to match your hair colour

1. Gather all the materials you need.
2. Use a marker to draw 3 shamrock leaf shapes onto the green felt. See the second picture above to copy the shape. They are almost like M's.
3. Cut the shapes out and thread the needle with your green thread. Don't tie a knot.
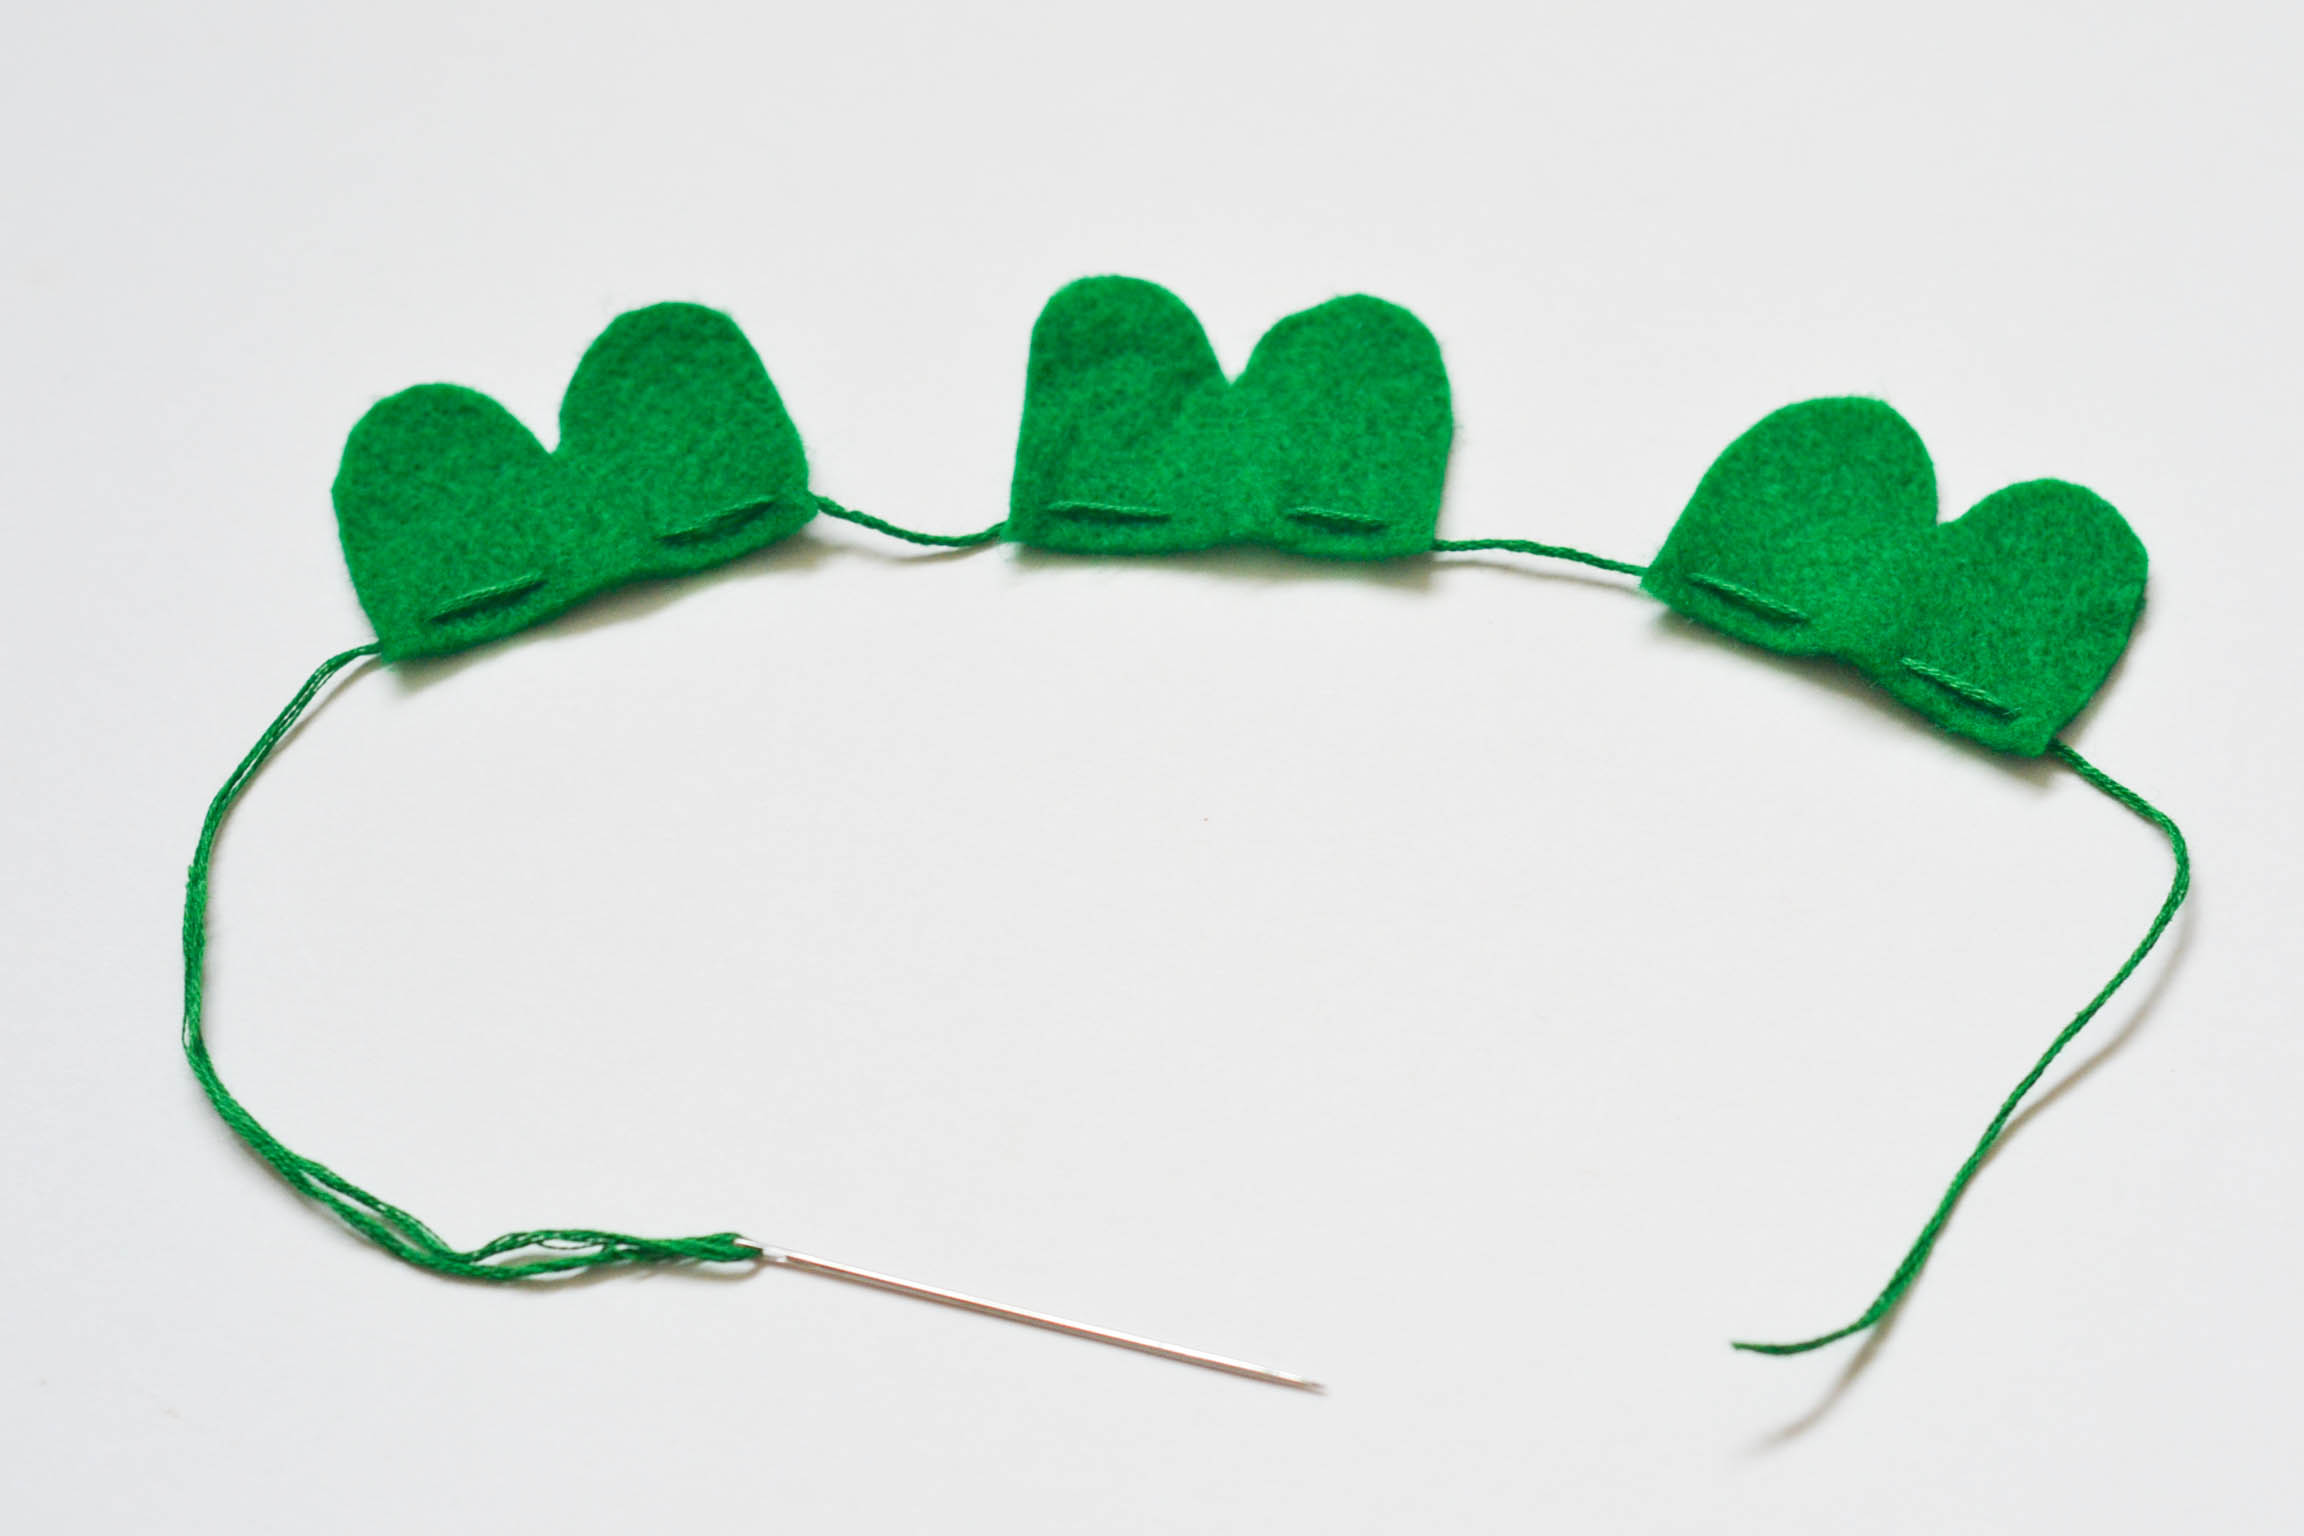
4. Create two long stitches in each leaf and leave a gap of thread between each of them.
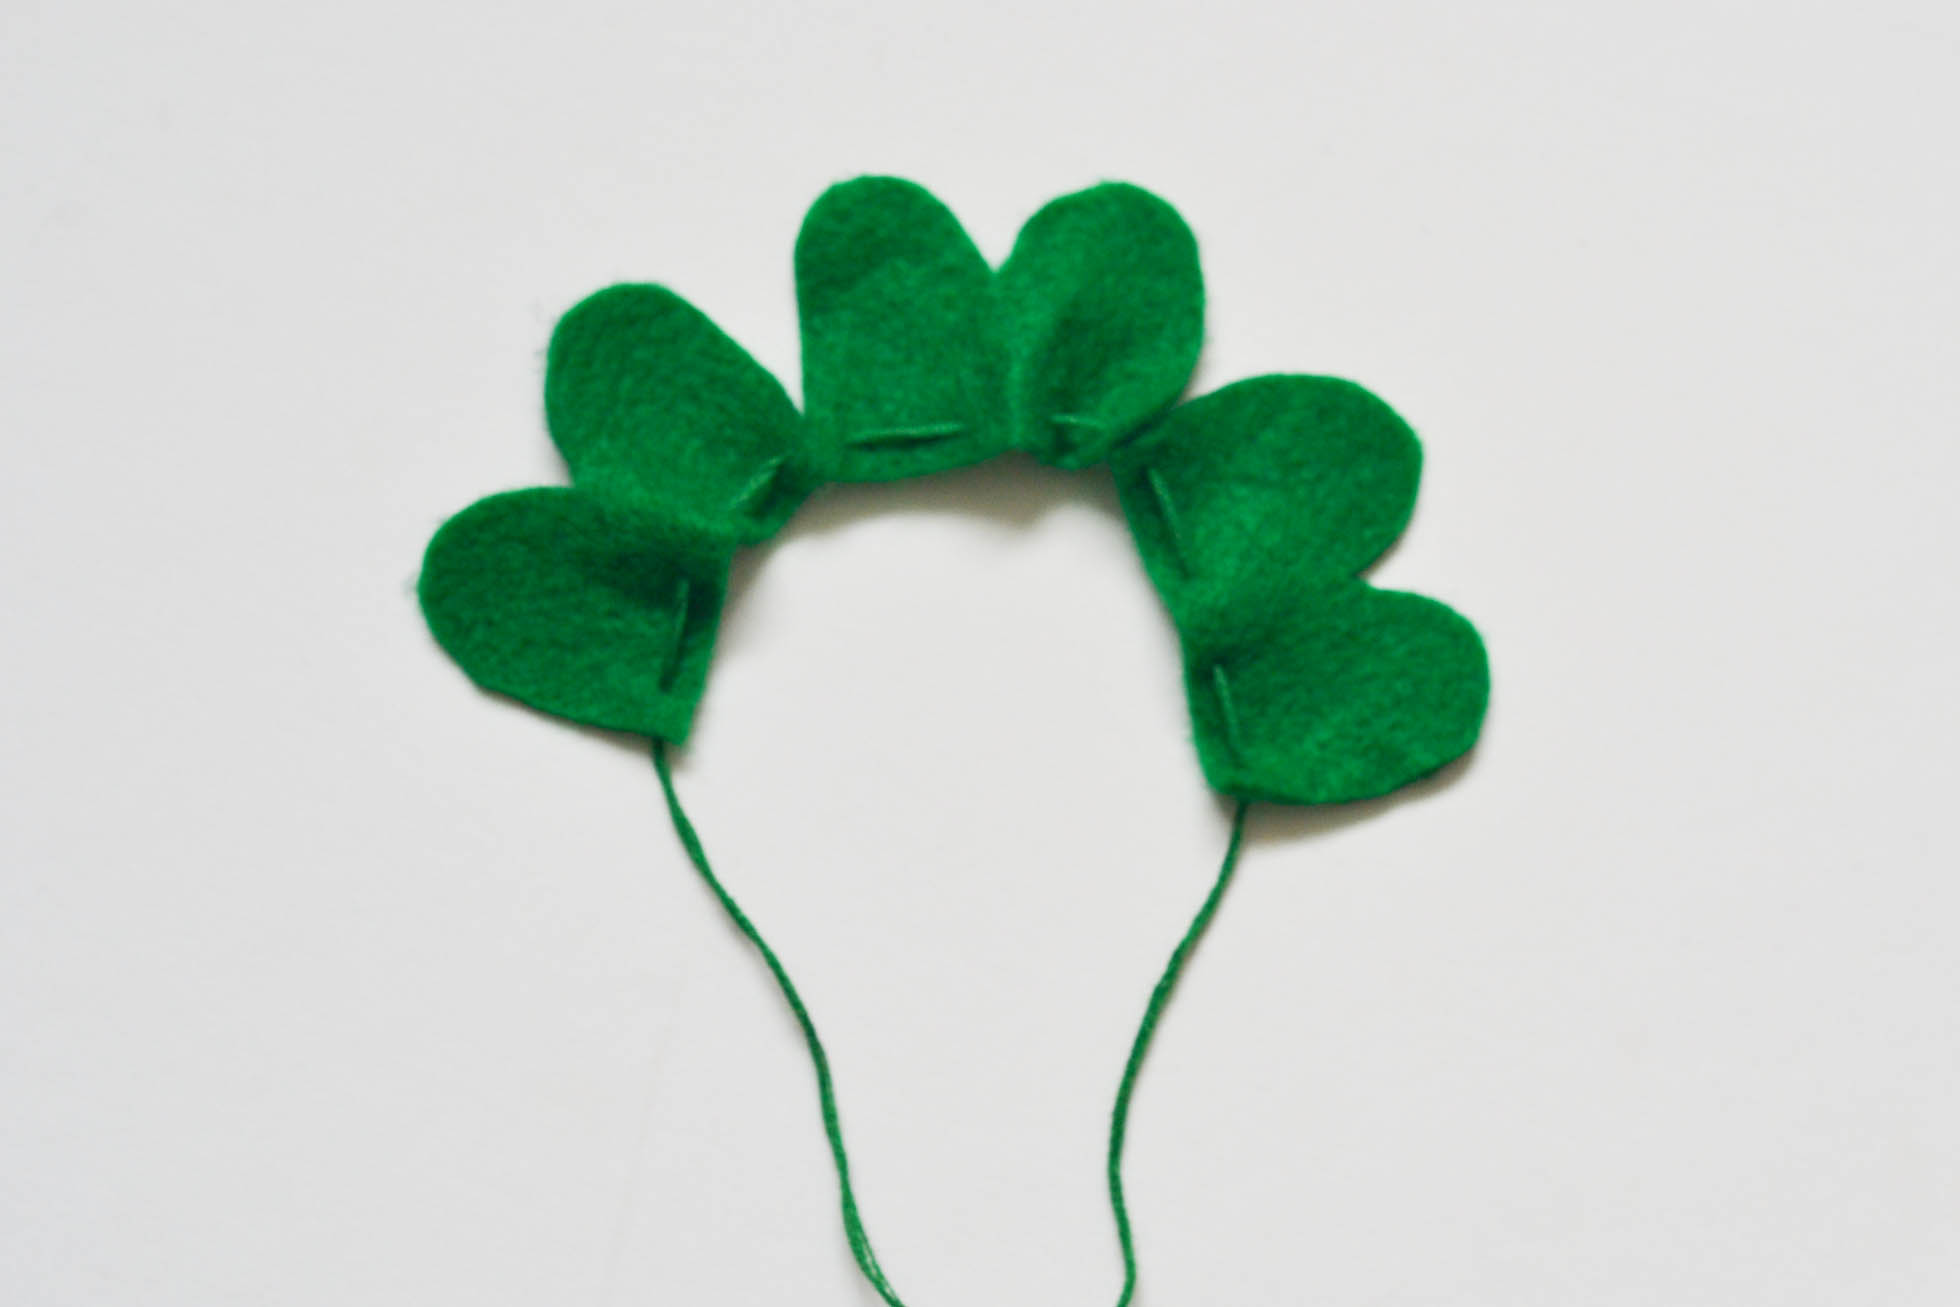
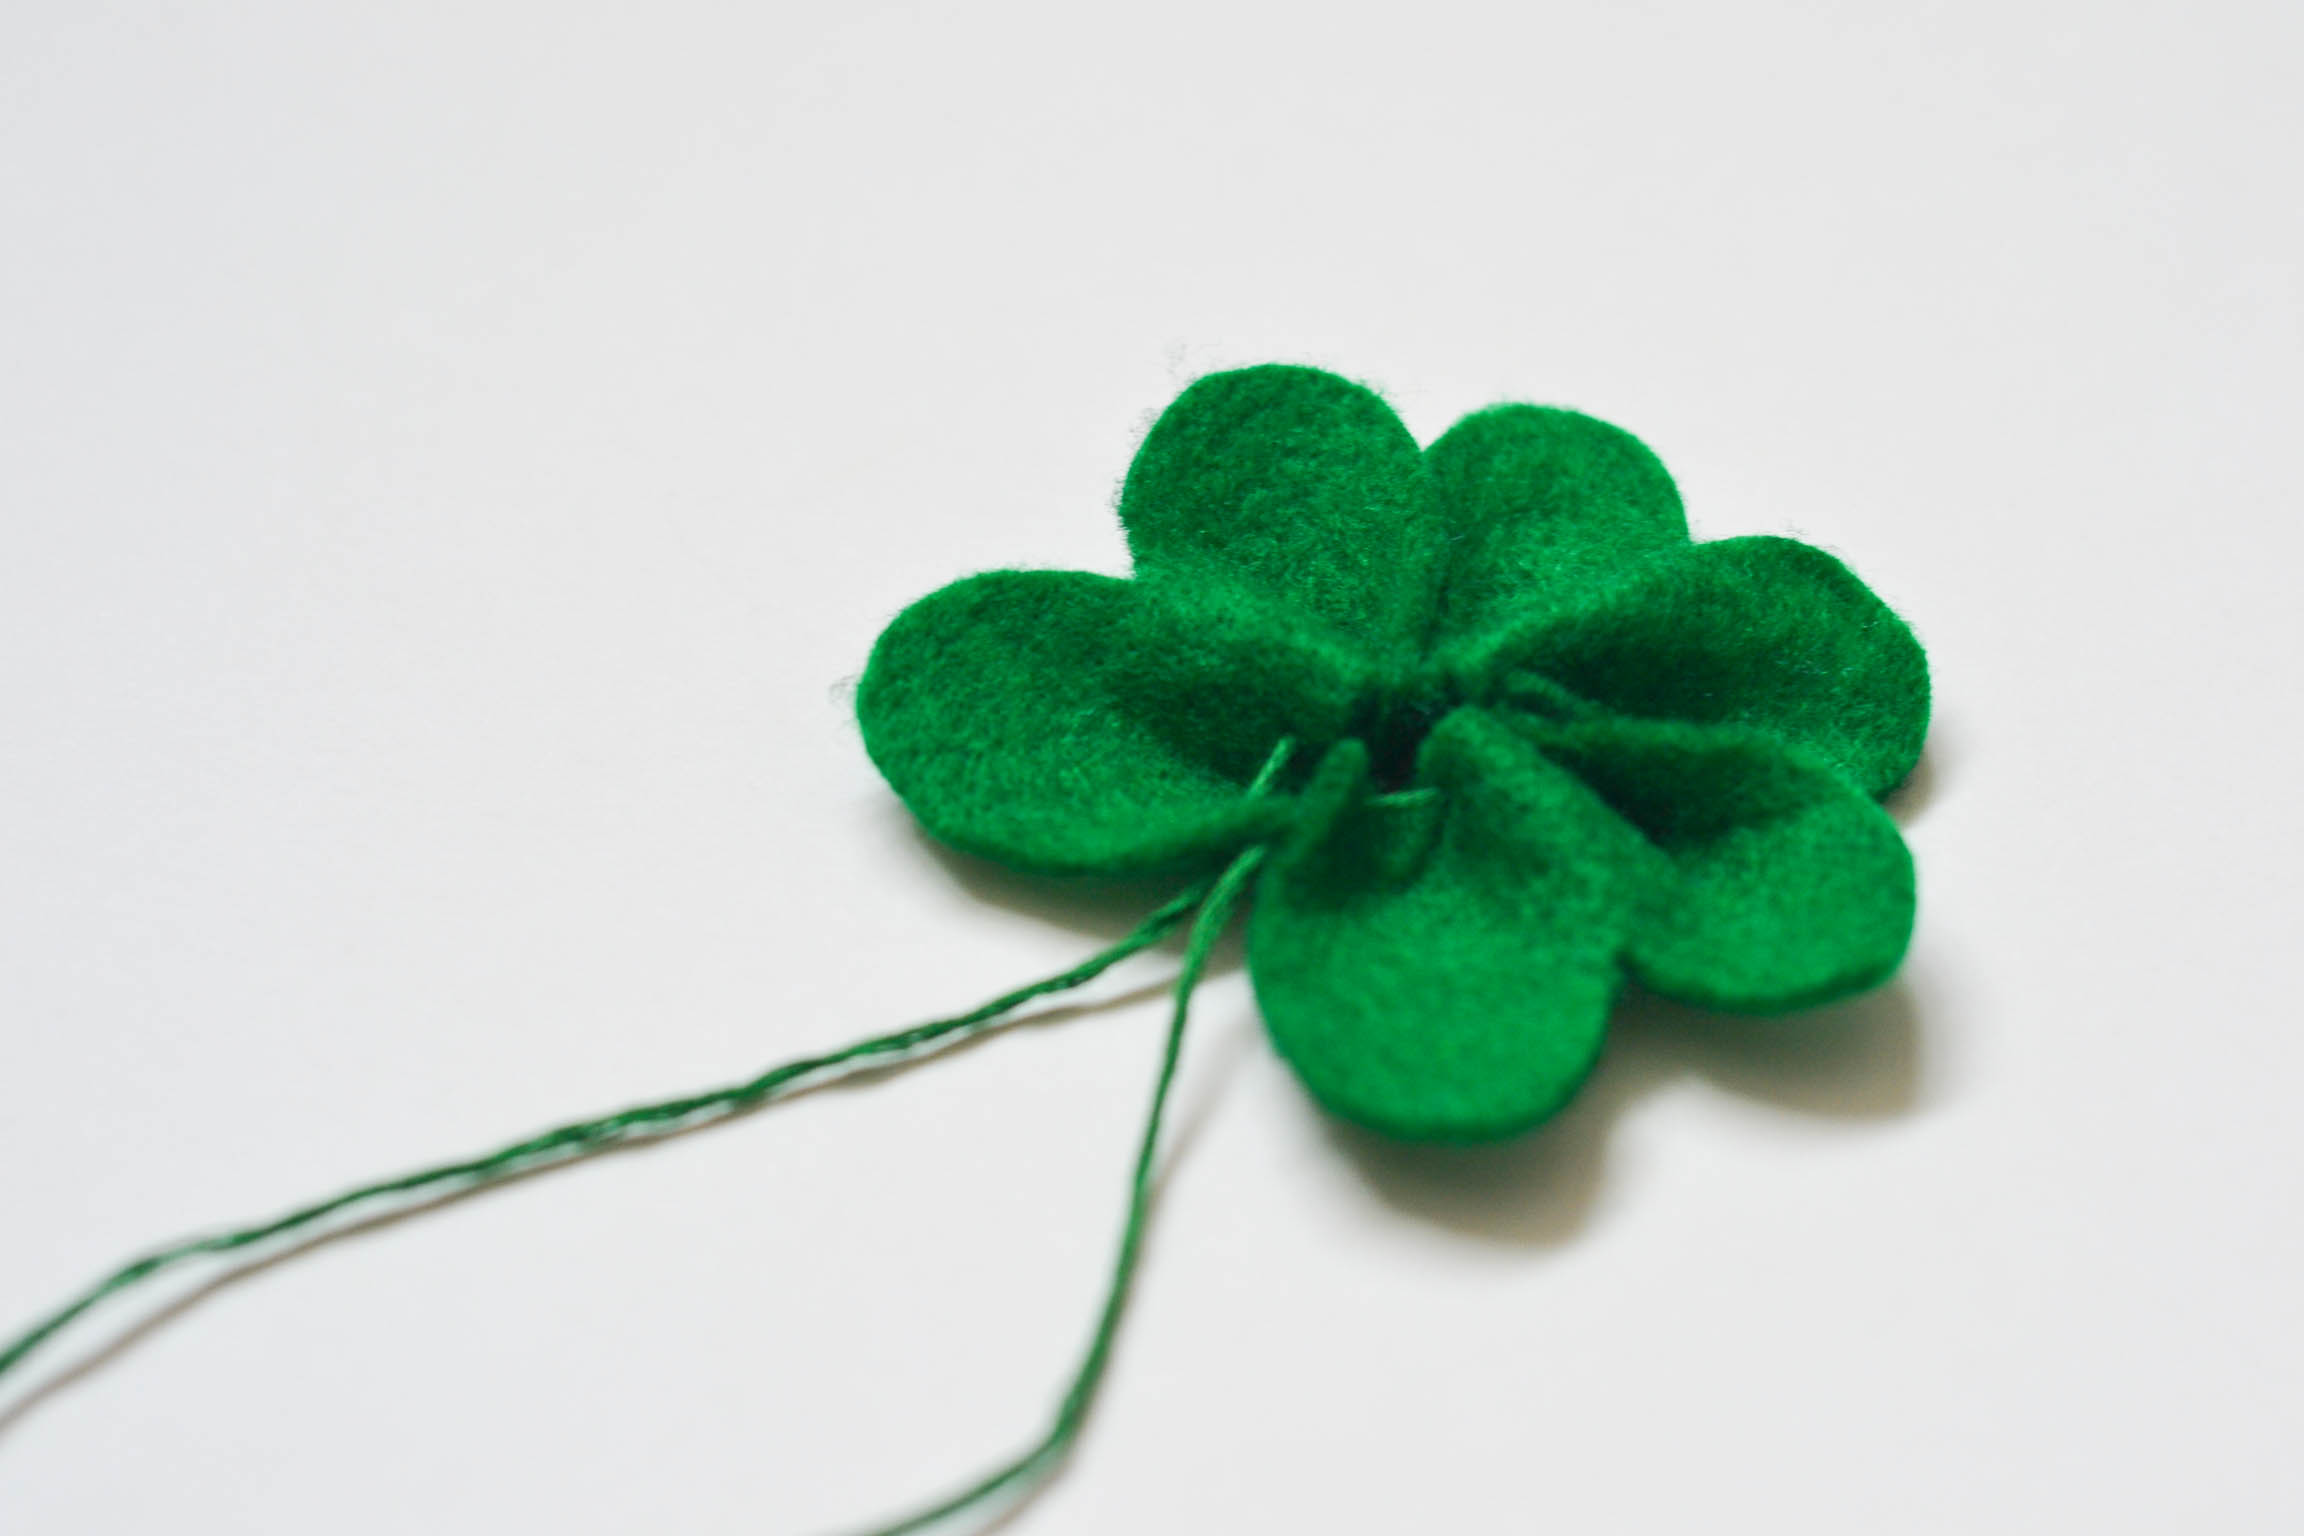
5. Draw the string together on both sides until the leaves bunch together to create the shamrock shape.
6. Tie a knot at the joining point.
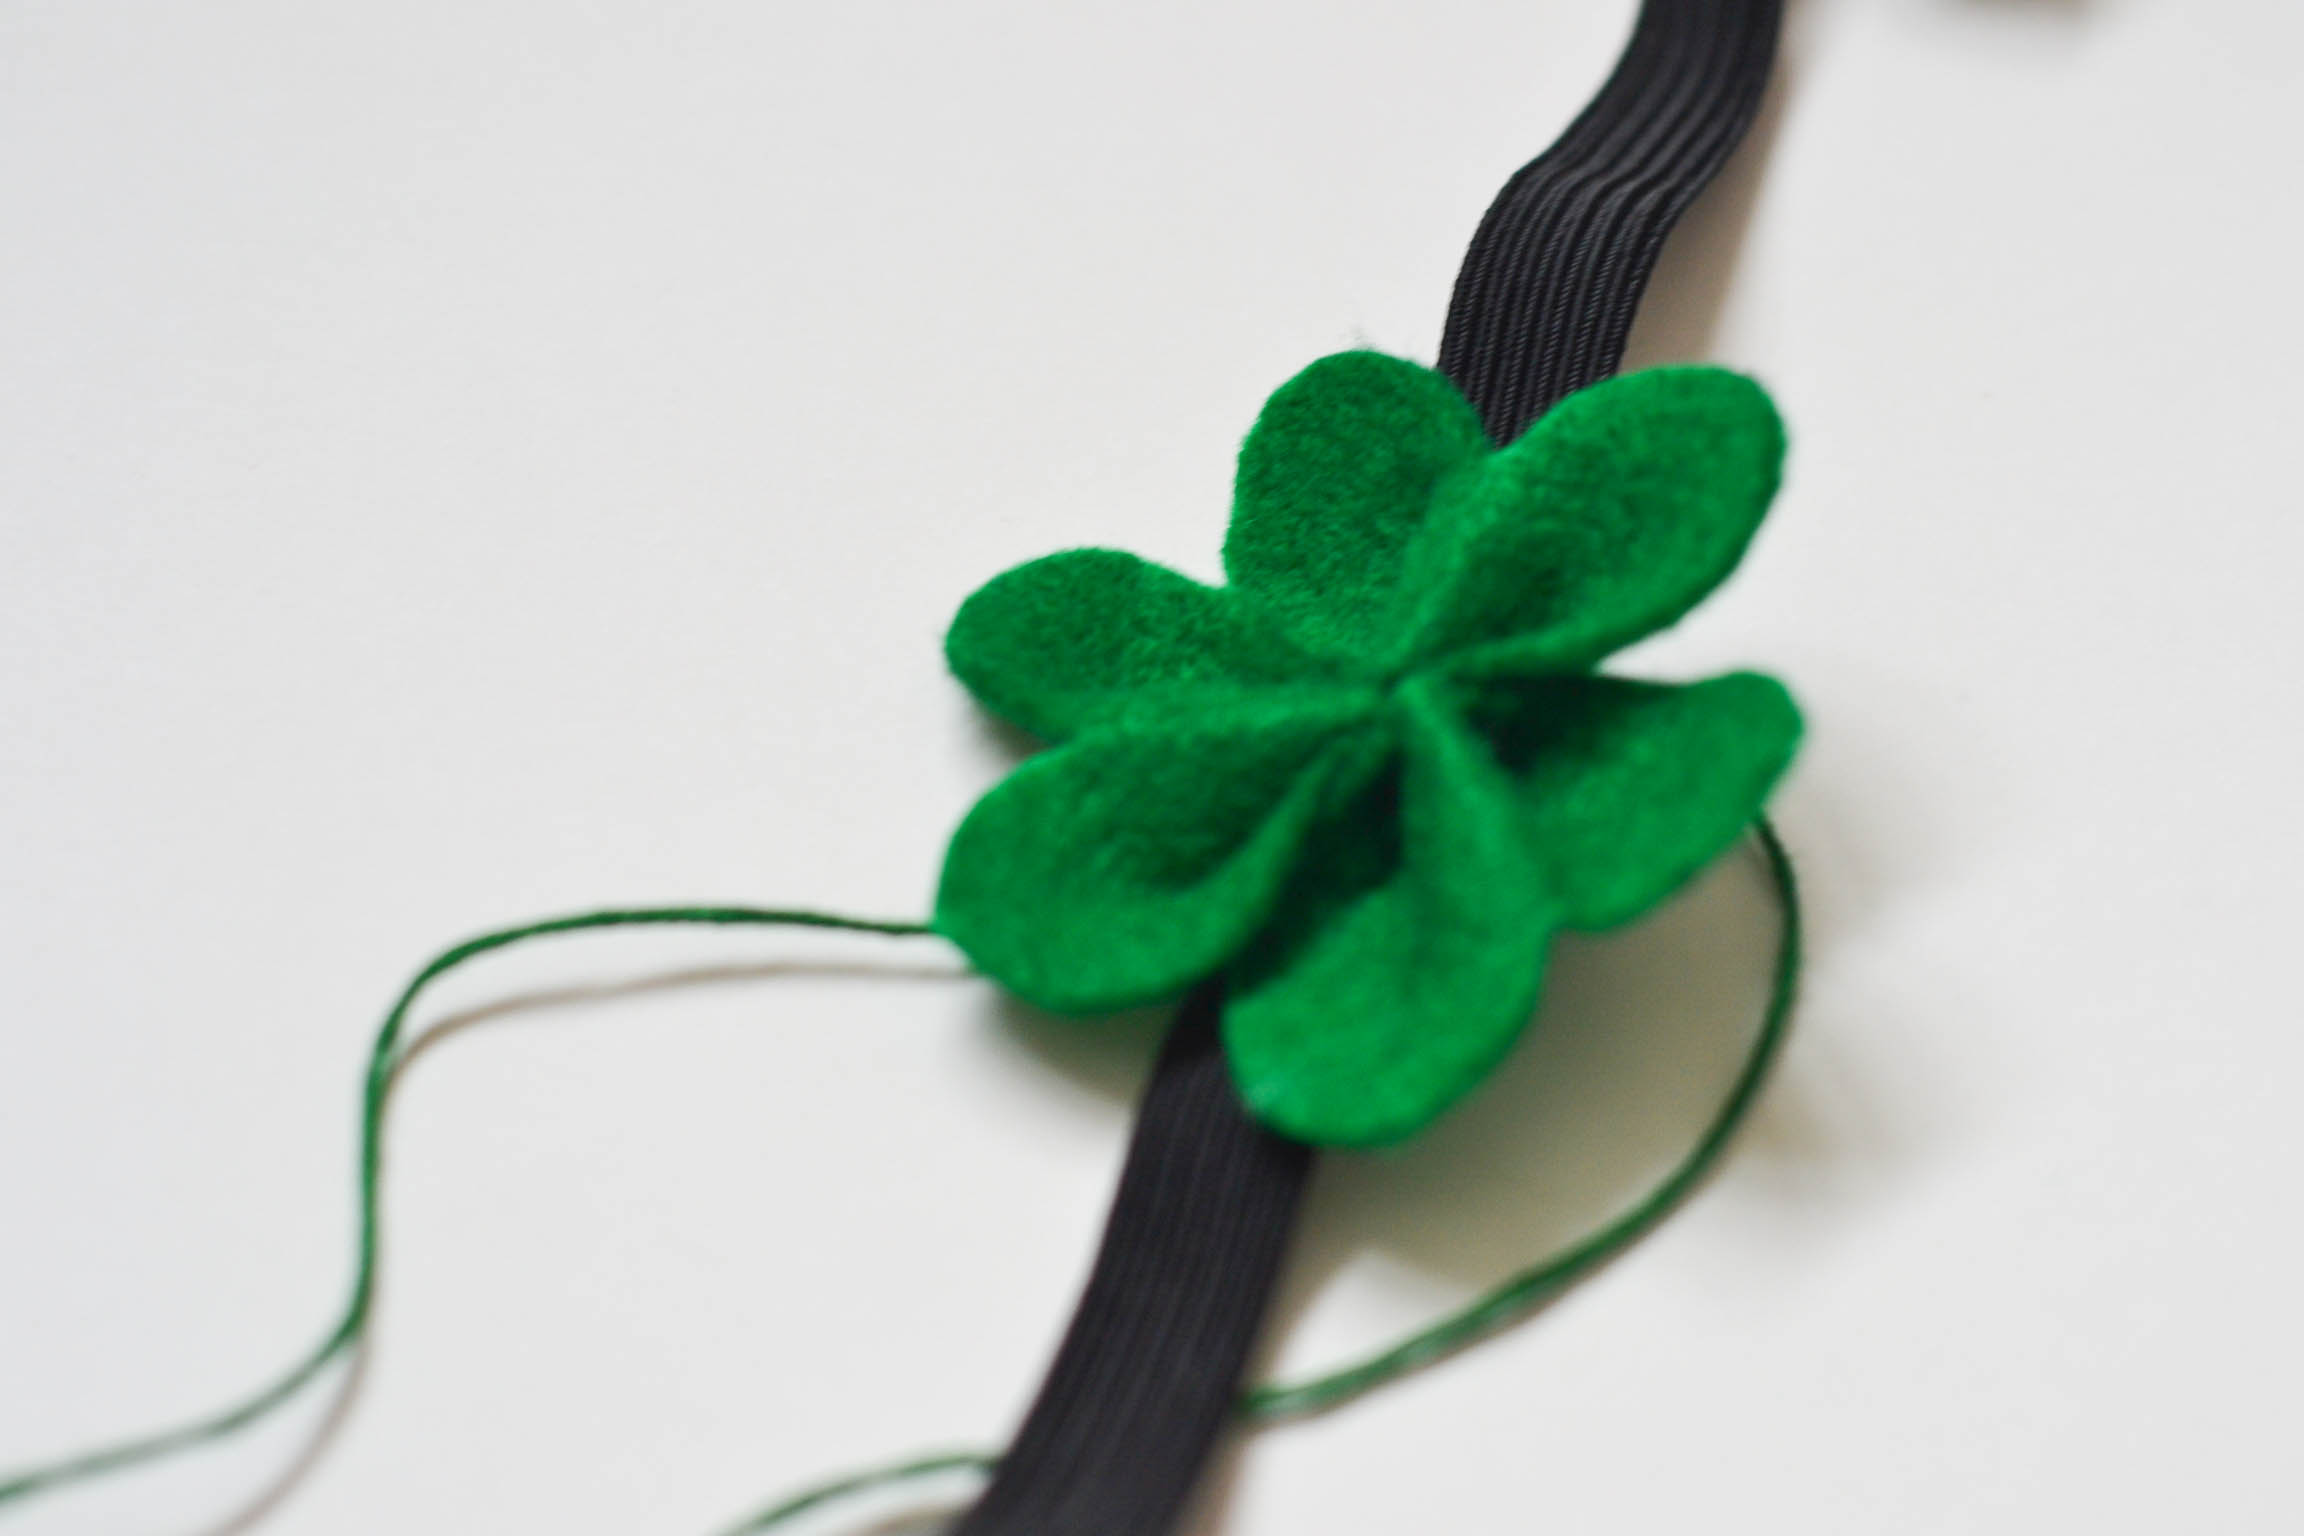
7. Attach the shamrock to the elastic or headband by using the string to tie it in place. Create a stitch in the back if you want to make it extra secure.
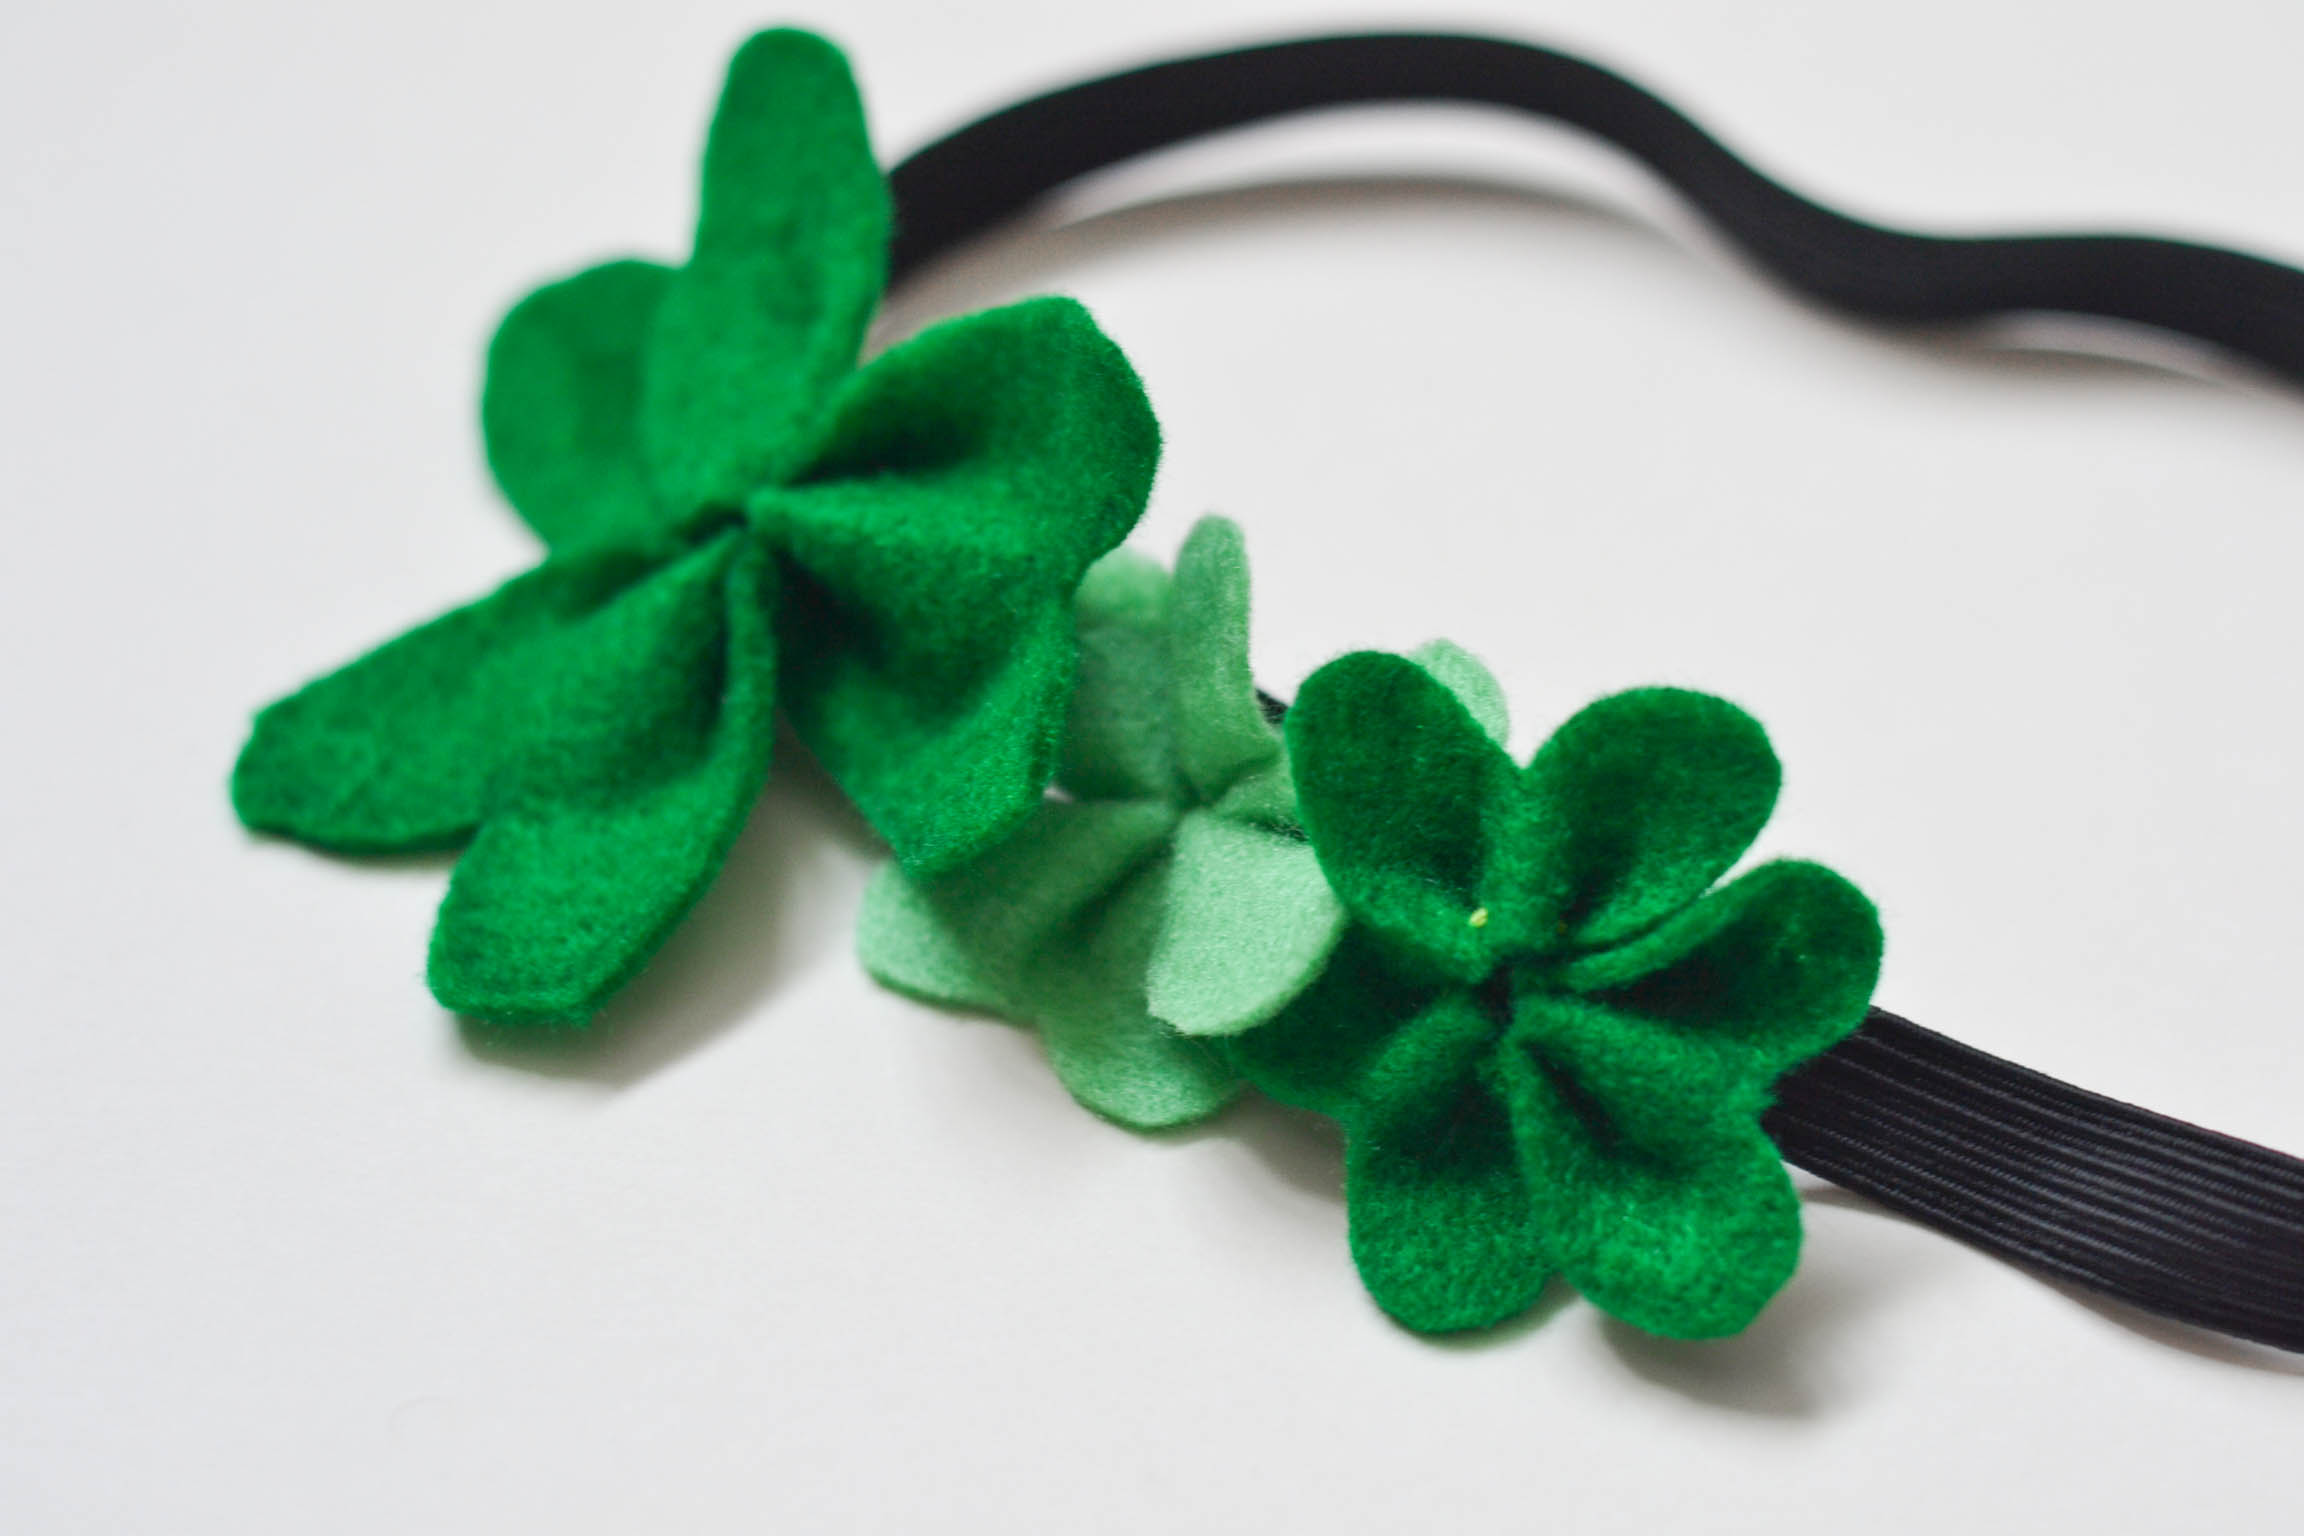
8. Repeat until you have 3 shamrocks in varying colours and sizes. Fit the elastic onto your head to fit, then trim (if needed ) and secure the ends with a back stitch.
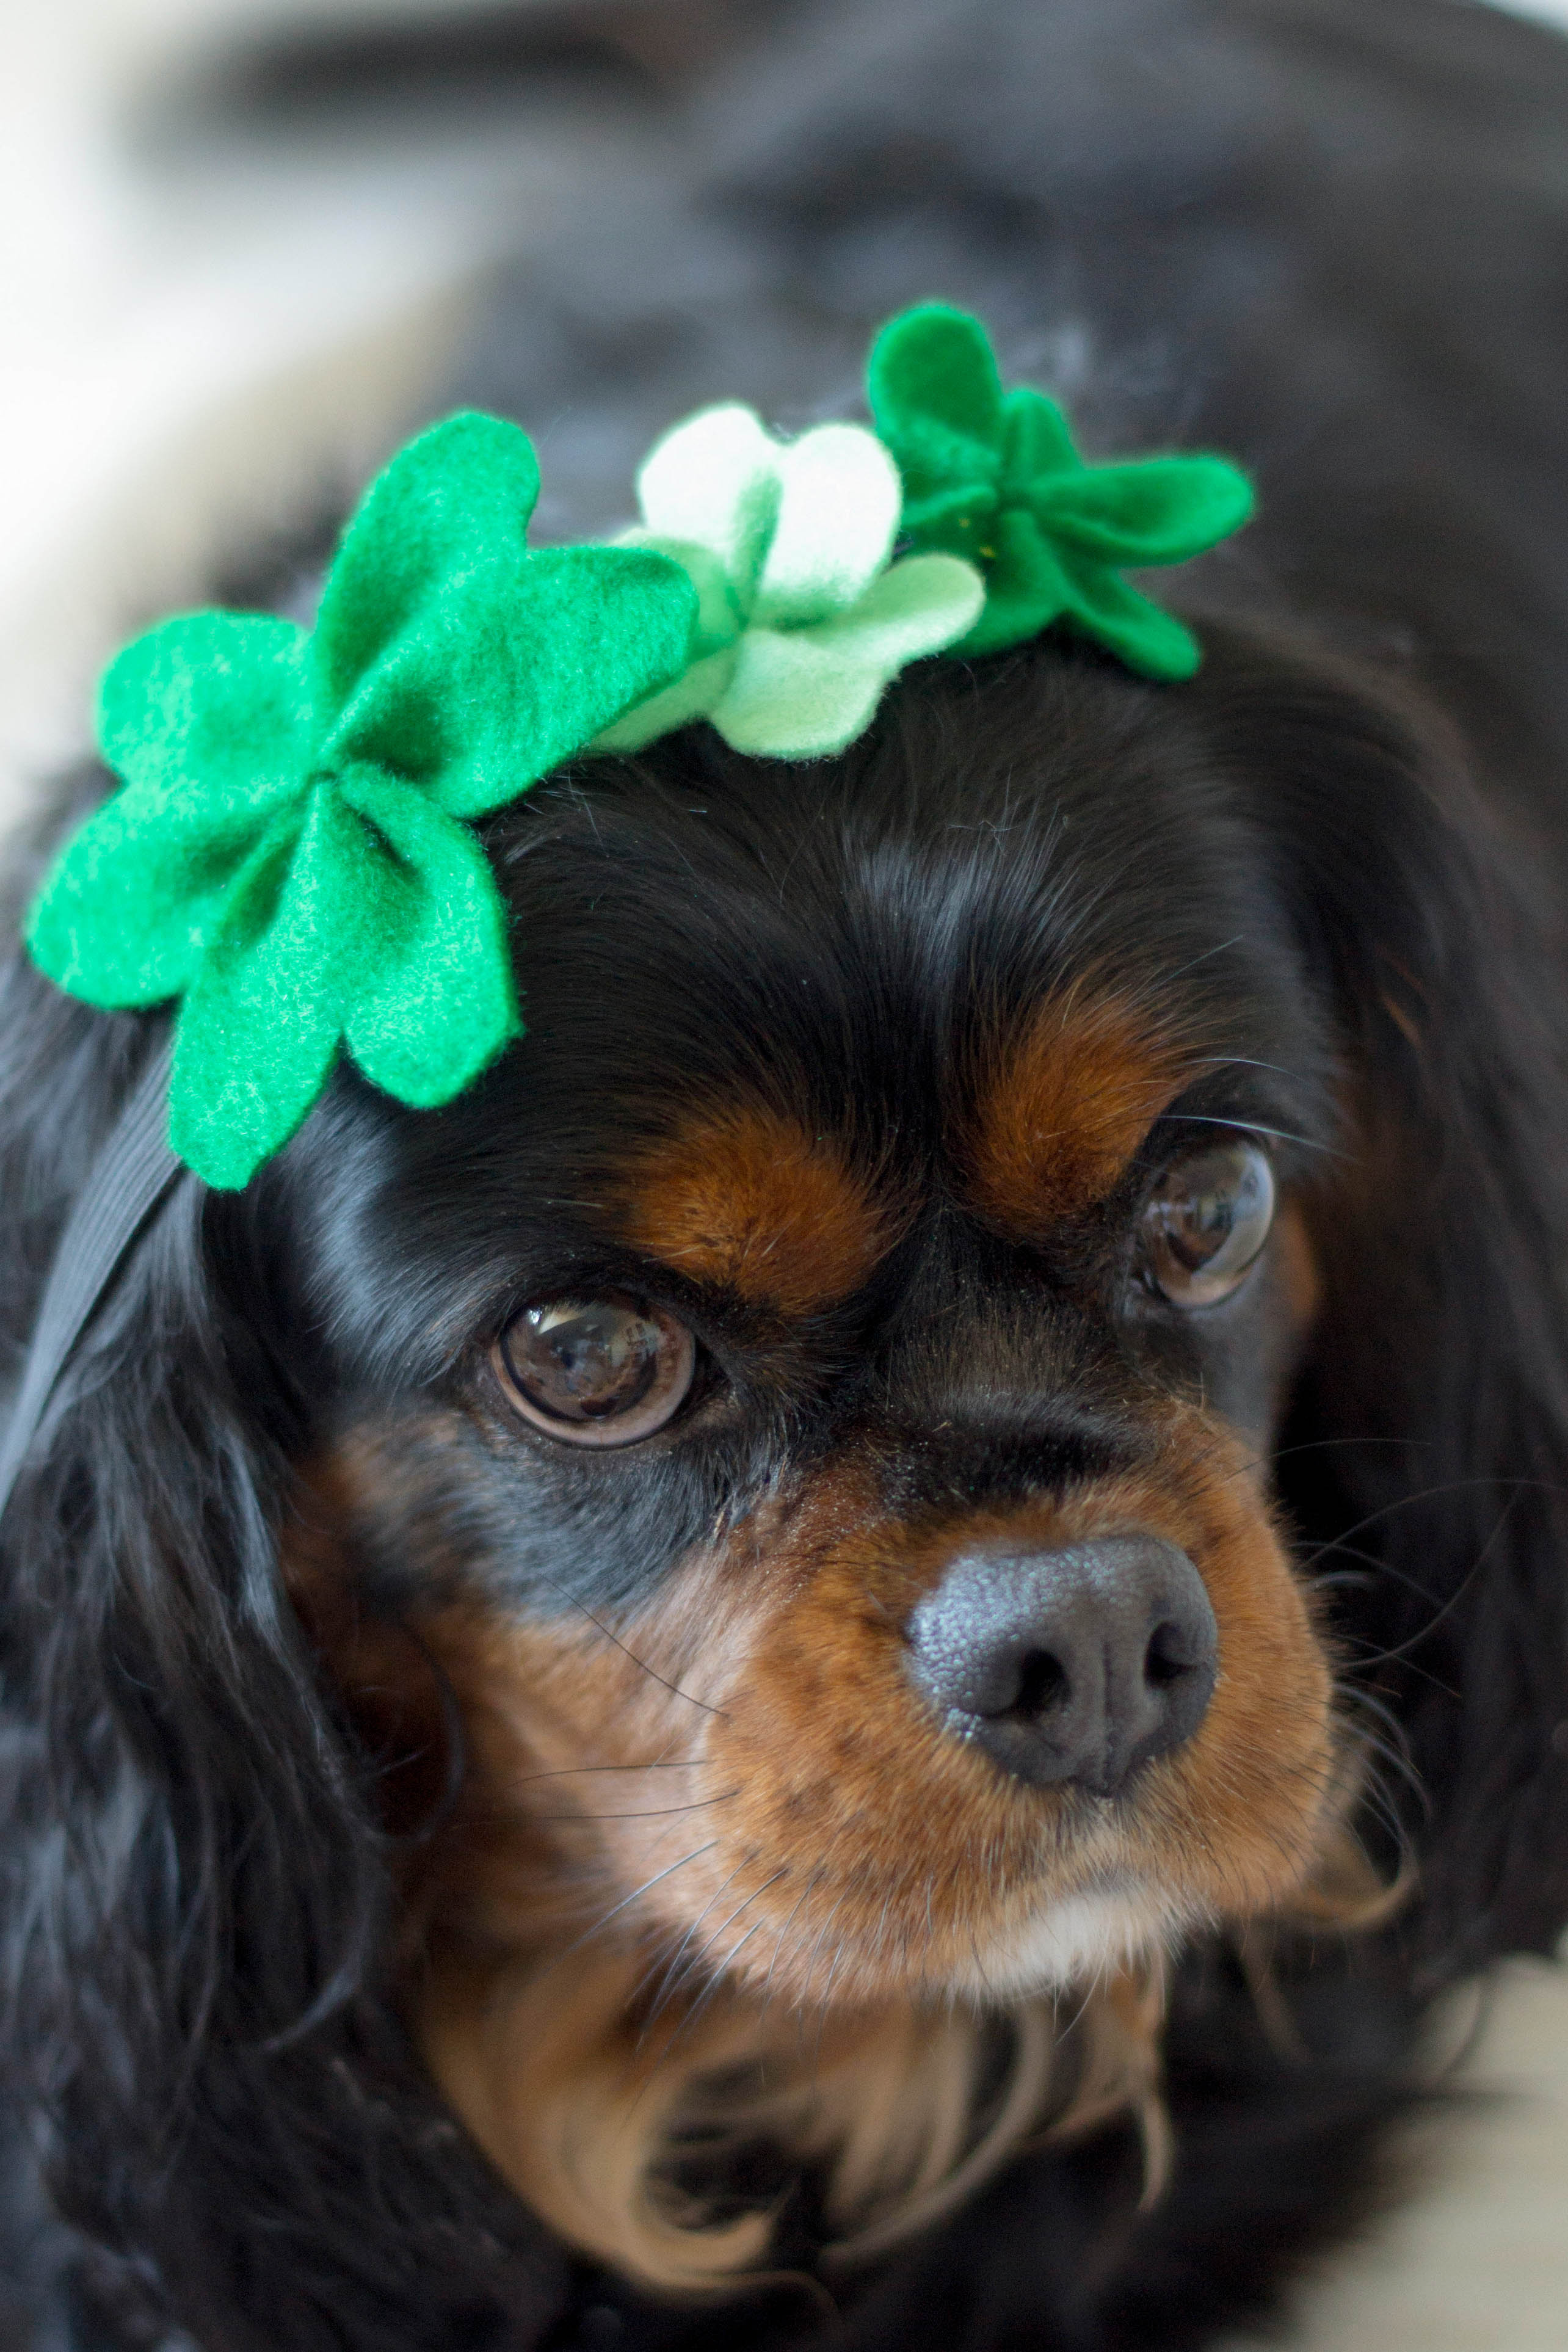
Molly
And did you know these headbands also make a fabulous dog accessory? As demonstrated my lovely assistant, Molly.