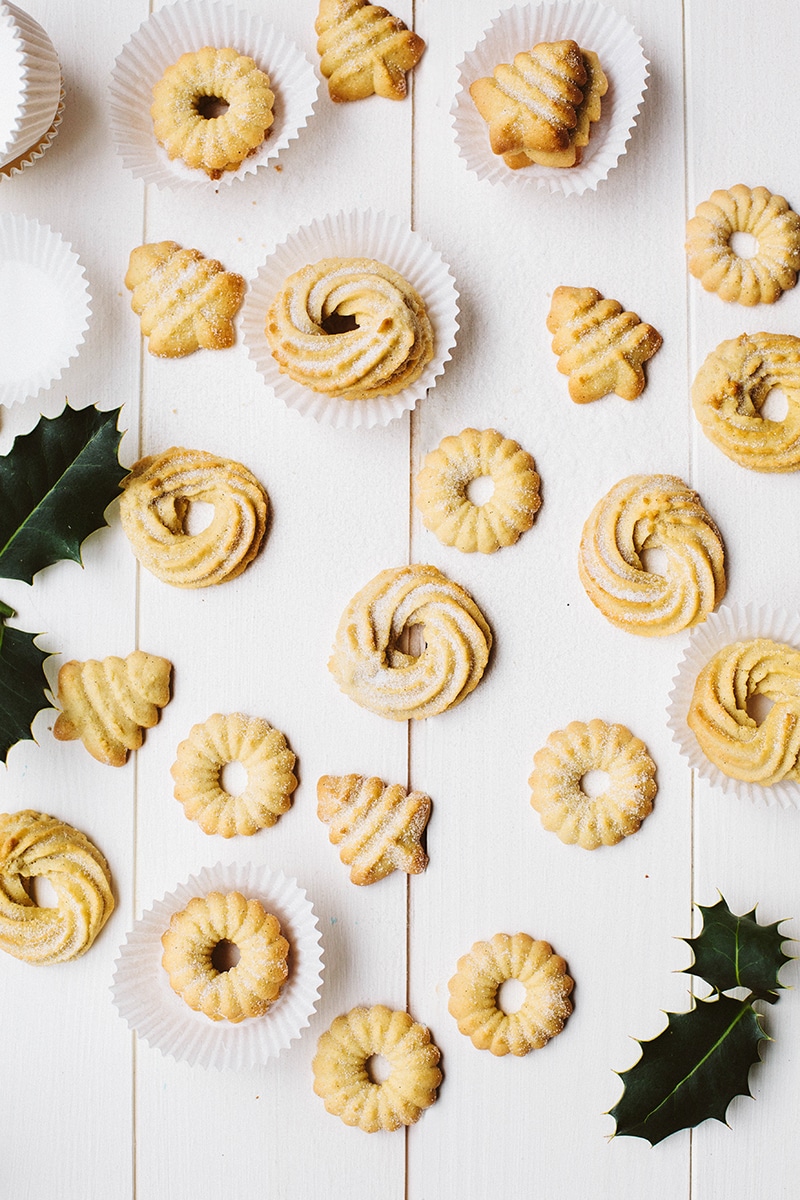
Buttery Danish cookies or Spritz cookies made dairy-free, but with all the familiar flavour of the classic biscuits you get in a tin! These are great fun to make (especially if you have a cookie press, although it's not essential) and make wonderful homemade gifts.
I was so pleased with how beautiful and delicious these little vegan Danish butter cookies turned out, when I first created this recipe.
And I have been making them regularly ever since, especially at Christmas.
Jump to:
The three main things I love about this recipe: the melt-in-your-mouth deliciousness, how fun they are to make and how beautiful they look (for the short while before they're all eaten).
This post includes a step-by-step recipe, tips and a short guide on how to create a festive gift tin to store them in.
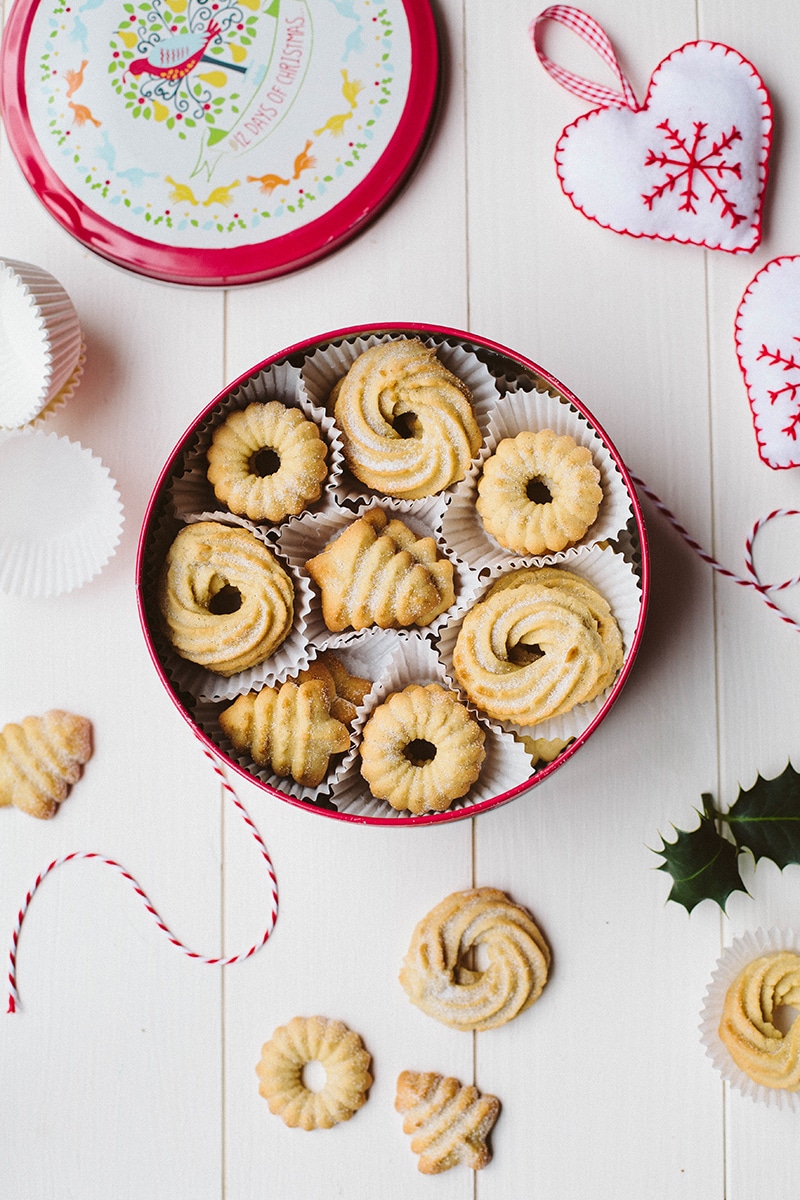
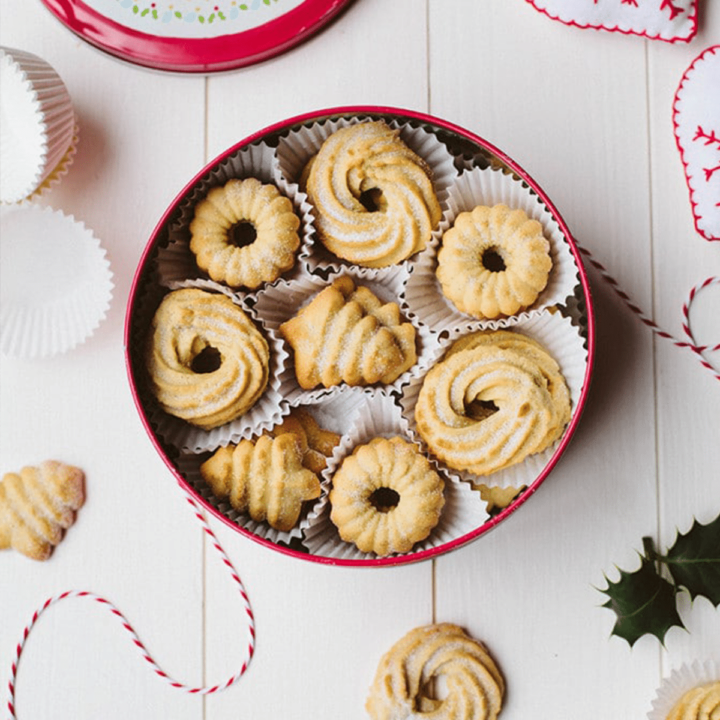
Creating a Danish Butter Cookie gift tin
Aside from eating the cookies, and playing with the cookie press, this is one of the best parts.
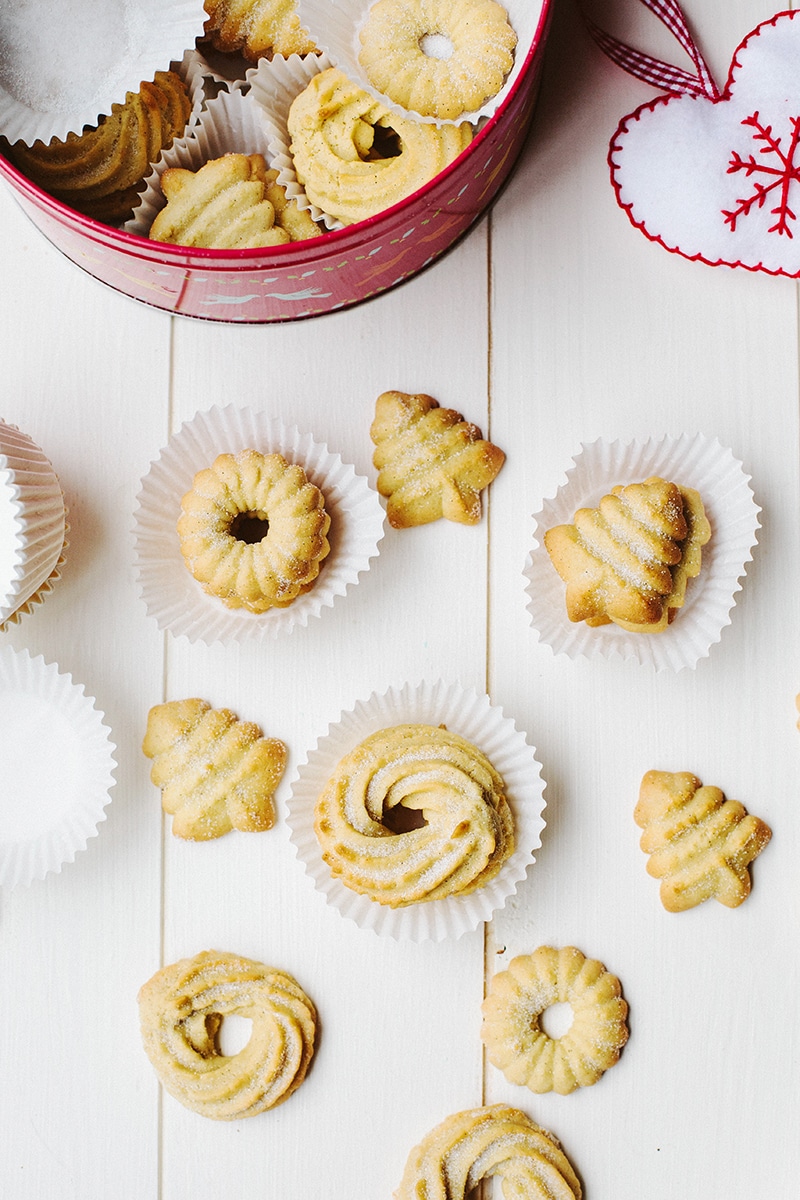
I love displaying these beautiful cookies in a tin, regardless of whether I'm giving them away as gifts or keeping them for myself.
You'll just need the following:
- A batch of these Vegan Danish Butter Cookies (Recipe at the bottom of this post)
- An empty medium round tin with lid (an old cookie tin is perfect)
- Plain cupcakes cases
- Extra sugar for sprinkling
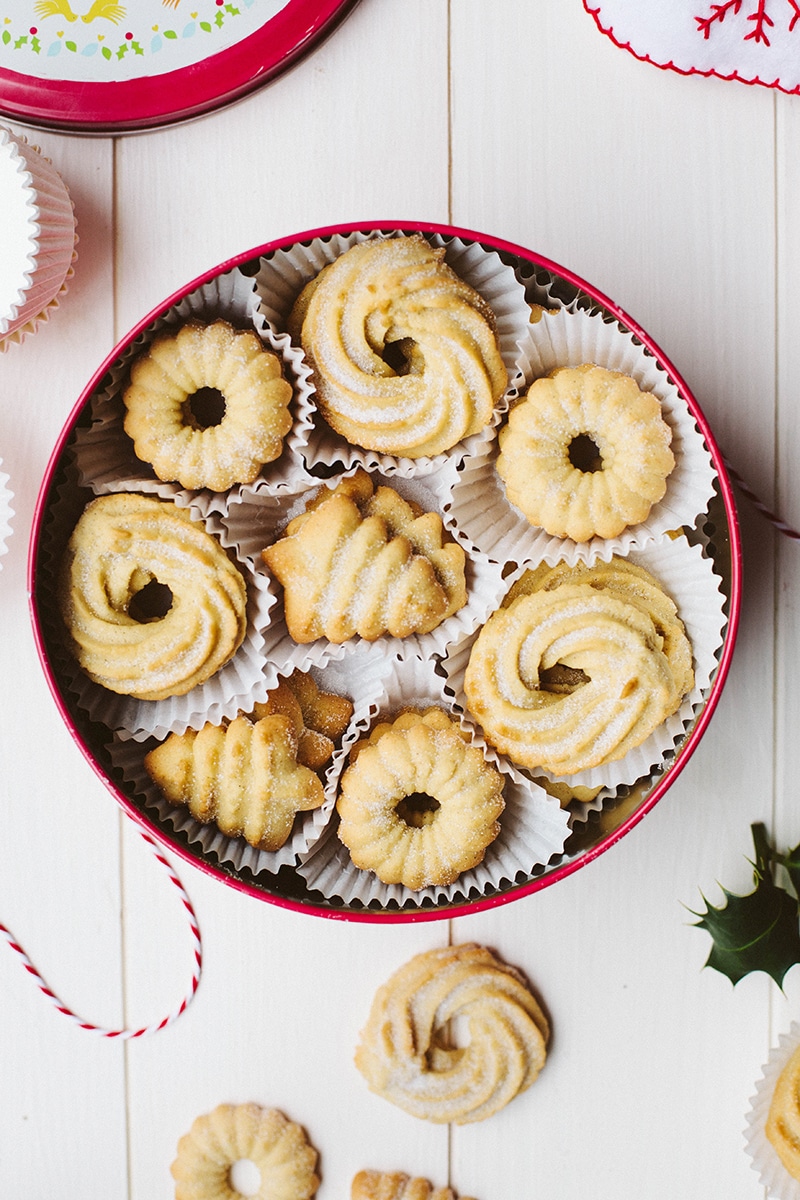
It will depend on the size of your tin, but I used 7 cupcake cases to place around the inside edges of the tin and 1 for the centre (8 total).
Fill each cupcake case with 3-4 cookies.
Sprinkle generously with white granulated sugar.
Now create a second layer on top of those cases and repeat.
Recipe FAQ
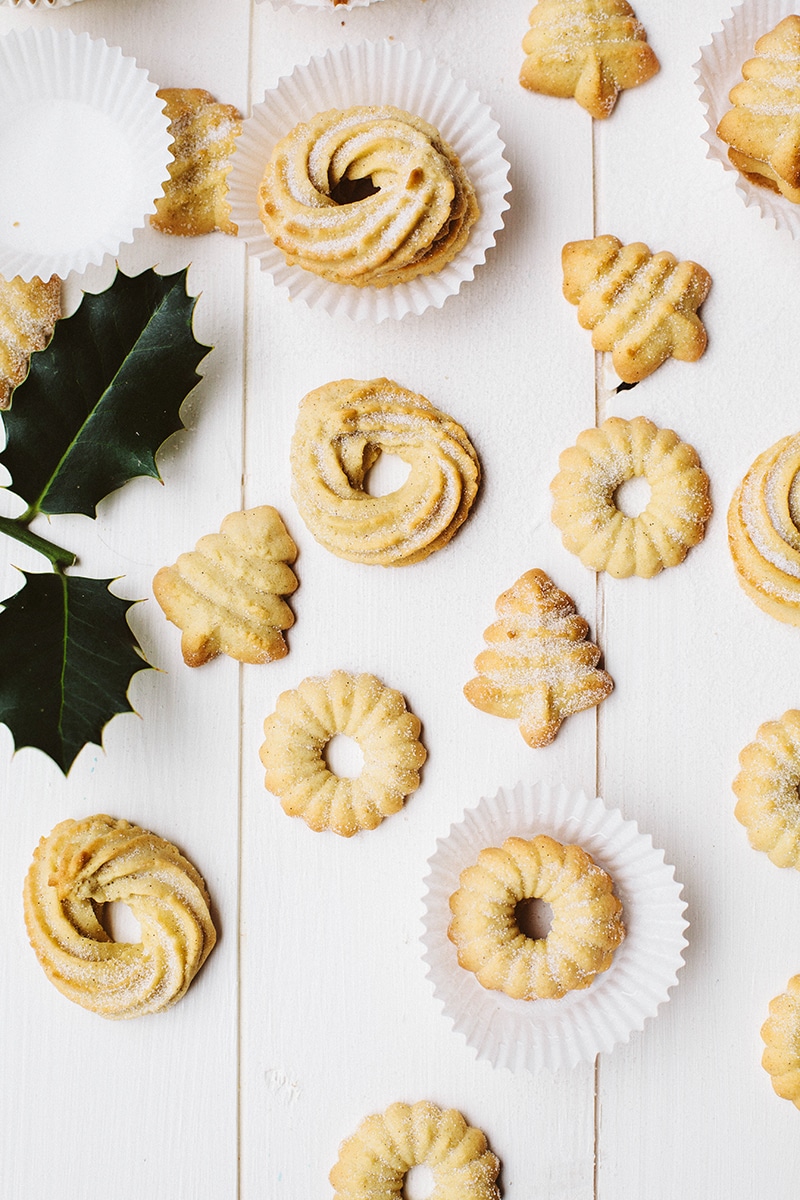
Not at all! You can simply roll the dough into small balls and press with your fingers or a fork. If you use this method, refrigerate the dough for about 20 minutes beforehand for the best result.
Or, use an icing bag + a star shaped nozzle to create wreath shapes (you can see I've used this method for some of the cookies pictured).
This can happen when the weather gets really cold OR if the mixture is overworked or too dry.
If you're using a piping bag, you can "massage" the bag to warm up and loosen the mixture.
The other solution is to return the mixture to the bowl, and without overworking the dough, mix in a small amount of dairy-free milk, until you have a softer consistency.
If all else fails, chill the dough and roll or cut out shapes instead!
Try chilling your tins beforehand, this usually solves the problem. I put the lined baking tins in the freezer for about 15 minutes before adding the cookies to bake.
Despite being dairy-free, these cookies will be just like how you remember the original.
In fact, many shop bought Danish Butter Cookies are made with vegetable oils, making them more shelf stable and are therefore vegan-friendly.
I recommend a good-tasting vegan butter alternative, such as Naturli block, Vitalite or Earth Balance Buttery. Found in most supermarkets.
If you can't get hold of a vegan butter and can only find margarine, one of my readers, Maria, has a great tip: Use butter flavouring. It is usually vegan-friendly.
📖 Recipe
Vegan Danish Butter Cookies
Vaniljekranse aka Danish Butter Cookies are THE essential Christmas cookie, in my opinion. This is a vegan recipe for those who miss this nostalgic taste...
Ingredients
- 200 g / 7 oz dairy-free buttery spread
- 130 g / 4.5 oz confectioner's sugar
- 310 g / 11 oz plain flour
- 1 tbsp corn starch mixed with 2 tbsp water
- 2 tsp vanilla bean paste or vanilla extract
- 1 tbsp almond milk, if needed
- 2 tbsp white sugar, for decoration
Instructions
- Preheat oven to 180C / fan 160C / 350F. Line a baking sheet with greaseproof paper.
- Mix together the dairy-free butter and icing sugar to create a soft buttercream.
- Add the rest of the ingredients, minus the milk, and mix until just combined. If the mixture is too dry, add the 1 tbsp of milk or more until a soft but firm batter is formed.
- Create the cookie shapes either using a cookie press, piping bag or simply dropping a tsp of batter onto the sheet.
- Bake for 10-15 minutes, regularly checking to make sure they are baking evenly. Turn your baking sheet around to face the other way half way through, if necessary.
- Let cool for 10 minutes on a cooling rack then sprinkle with sugar. Enjoy!
Nutrition Information
Yield 60 Serving Size 1Amount Per Serving Calories 49Total Fat 2gSaturated Fat 1gTrans Fat 0gUnsaturated Fat 1gCholesterol 0mgSodium 22mgCarbohydrates 7gFiber 0gSugar 3gProtein 1g


Wendy says
So these cookies turn out soft or crunchy?
Aimee says
They're slightly more on the crunchier side but they have a melt-in-your-mouth texture :-)
Renee says
These turned out amazing!!! I used earth balance original (most popular vegan butter available in Canada). Once the dough came together I put it in my Cookie press and baked them on a non-stick silicone mat. The taste and texture was so good my boyfriend ate practically the whole batch! Will be making these again closer to Christmas to give out as gifts.
Aimee says
Yay! So glad you liked them, they're my favourite Christmas treat :-)
NINA says
I tried the recipe today. The taste is amazing but I'm not happy with the consistency. I'm sure it's because of the margarine I used. I'm italian so I don't know how to find a good brand. They came out soft, not so "buttery". The margarine I used is made with a big part of water..what Can I do? Maybe use a part of it and a part of coconut oil? (Sorry for my English!!!)
Aimee says
Not at all, Nina! Yes, a good-tasting vegan butter is really important for this recipe. Another reader tried coconut oil and liked it (see their comment here) but personally I think it would change the recipe completely as it lacks that buttery flavour. If you can't get hold of a good quality vegan spread, it might be the next best option though! Hope that helps :-)
Edward says
Hi Everyone, I replaced the buttery spread with virgin coconut oil. It was firm like butter-not melted. They came out great except I couldn't manage to squeeze it through a pastry bag so I had to scoop and flatten by hand. I really need to use a pastry bag so I can get all the fancy shapes like in the pictures on this page. Anyone have any ideas about that?
Fiona says
Hi! Did you use the same amount of coconut oil?
Amaryllis @ The Tasty Other says
These look gorgeous, Aimee! Love your presentation too. Thanks so much for sharing, I'll definitely give them a go.
Aimee says
Thank you! I make a LOT of these at Christmas time :-)